Moving always means getting used to the new surroundings. In this special case, I took over a cabinet in our bathroom for my stuff. It is more bathroom space than I ever used before and my stuff just sprawls out.
One thing which is constantly on the verge of falling out is my beard trimmer. It has a round shape, so it is prone to rolling around and needs a lot of space lying around. So I designed a stand for it.
![works well, but weird shape Remington MB-320C [image: amazon.de]](http://hawksnest.hexspace.de/rails/active_storage/blobs/eyJfcmFpbHMiOnsibWVzc2FnZSI6IkJBaHBKQT09IiwiZXhwIjpudWxsLCJwdXIiOiJibG9iX2lkIn19--e99b195729728d3b90465e33bd4b3f278b0daee1/trimmer_rotate.jpg)
My requirements where simple:
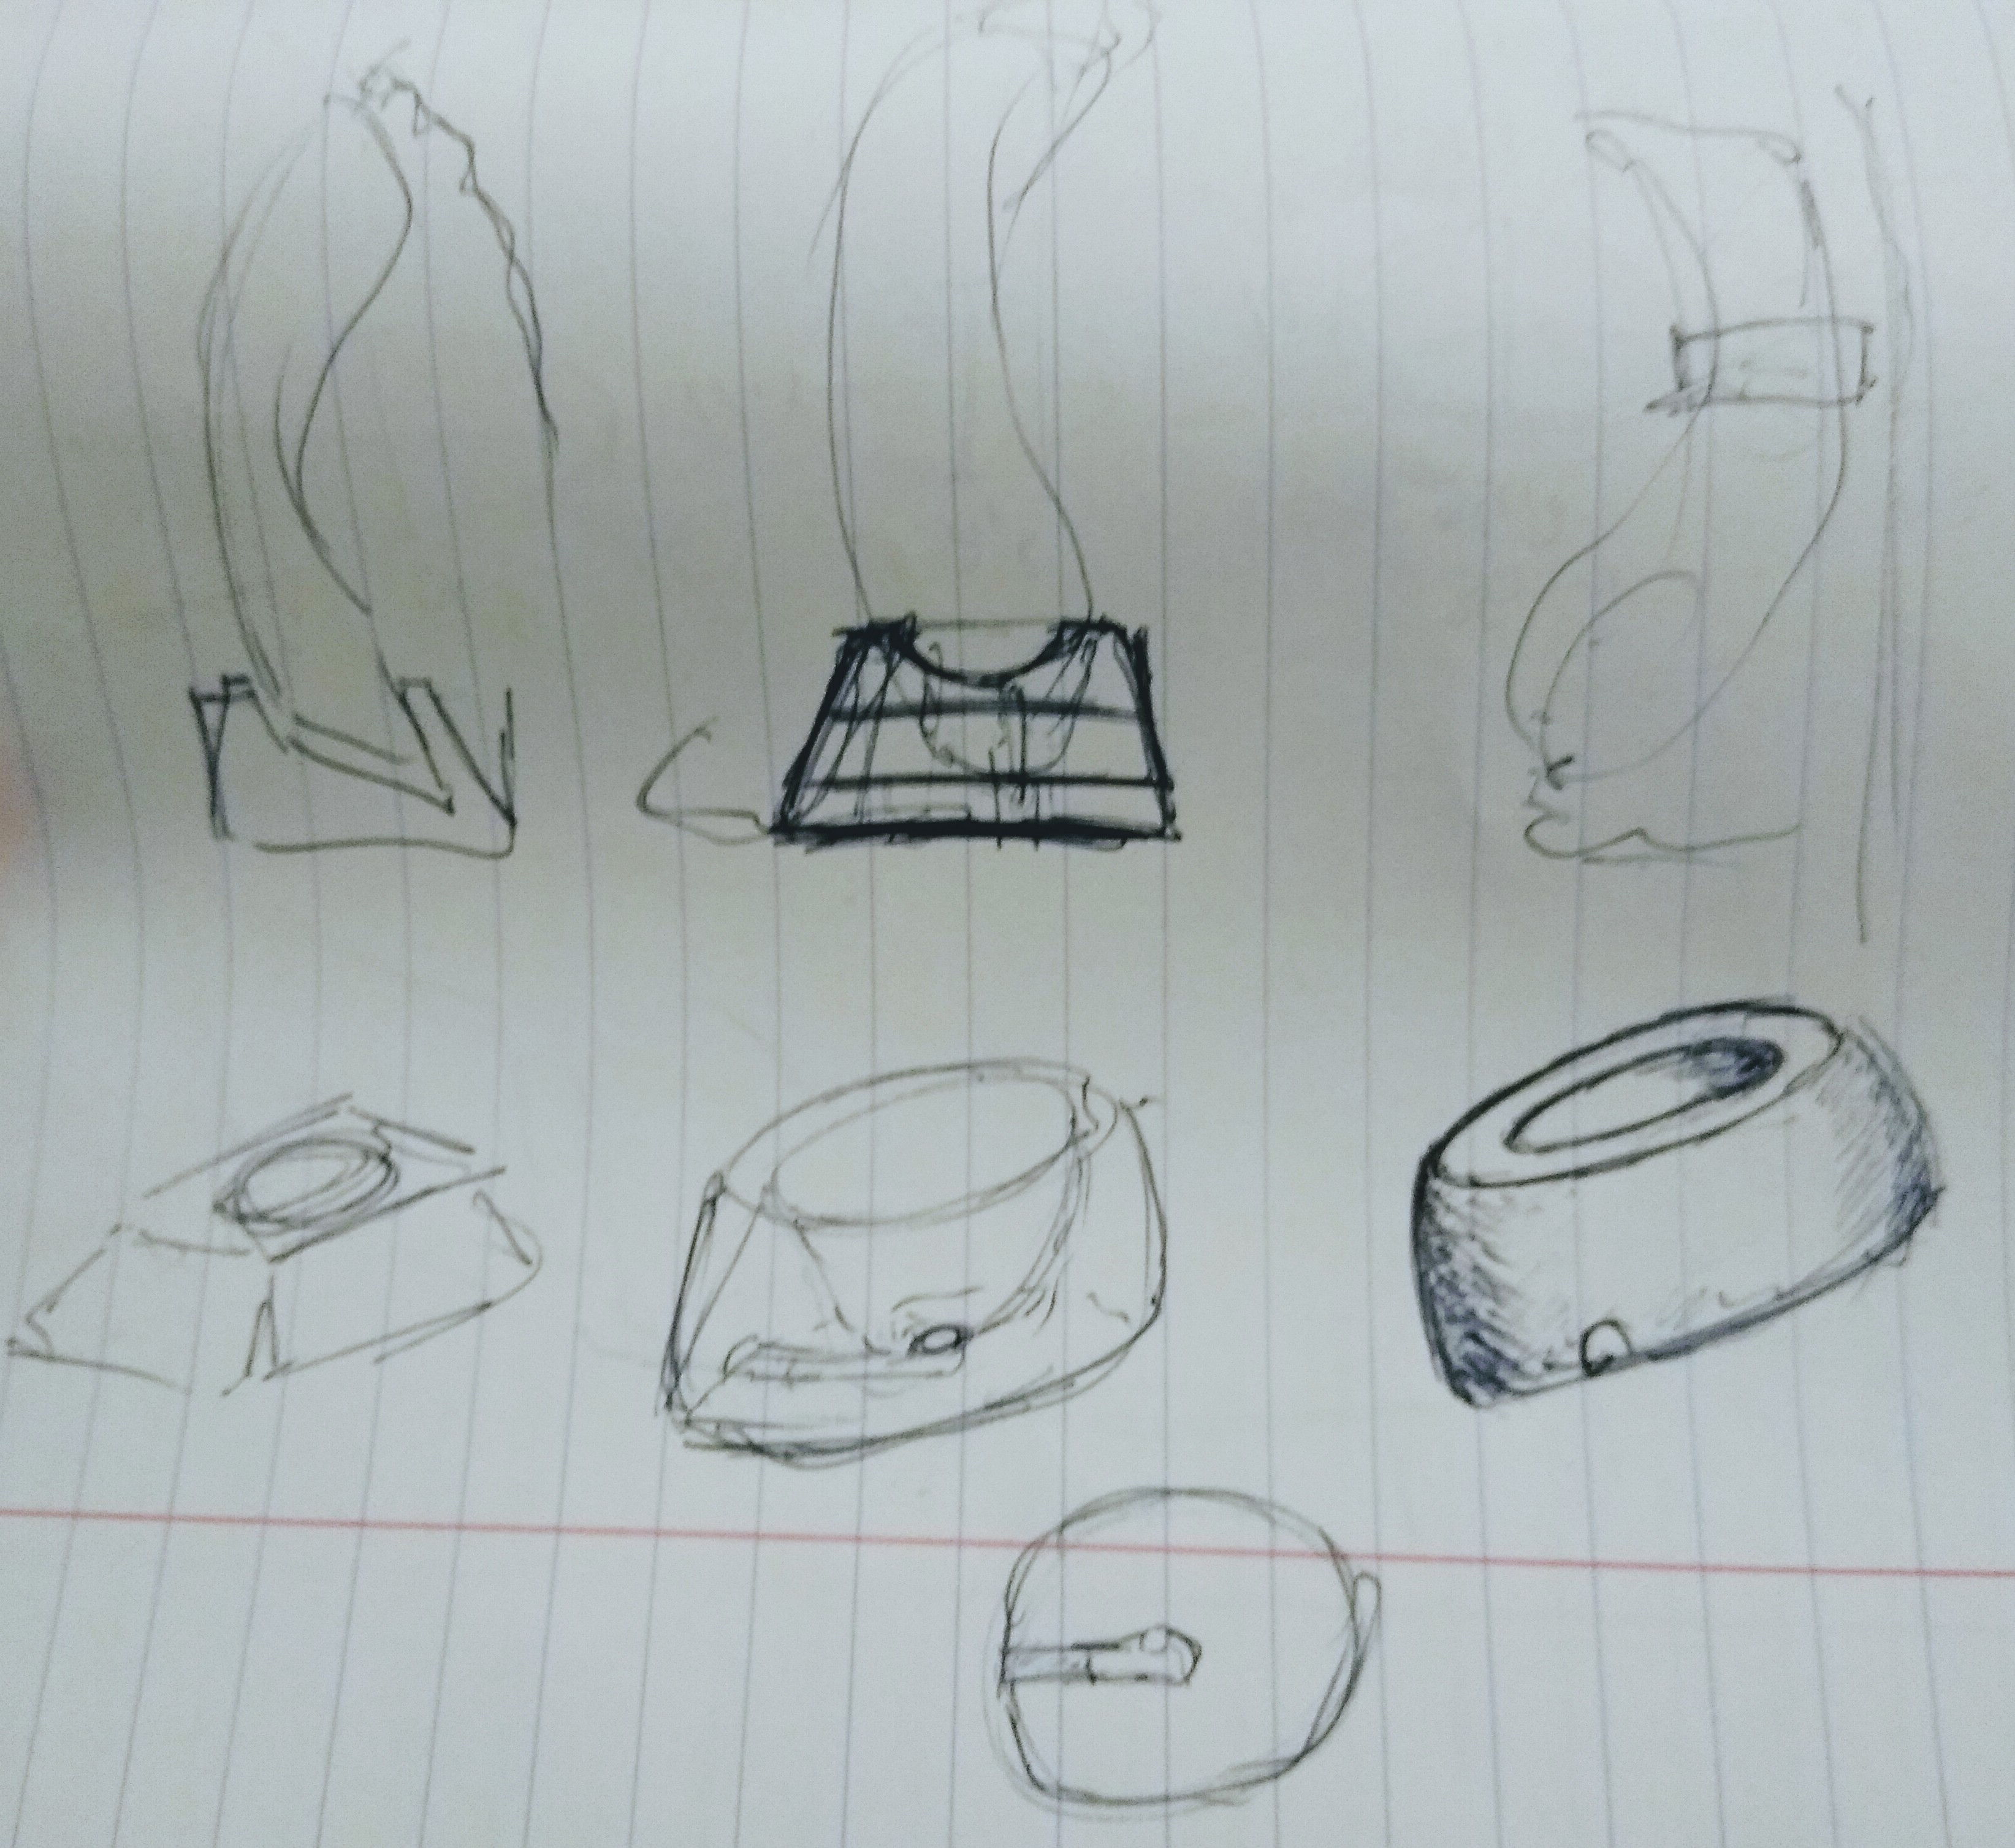
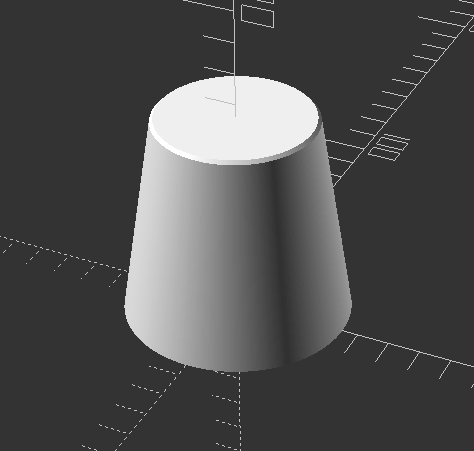
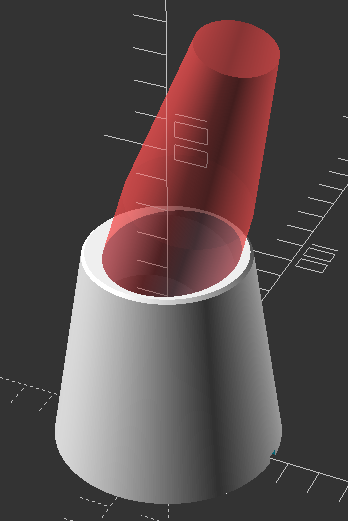
So I doodled a bit and the main ideas which appealed to me were a Y-shaped fork on which the trimmer could hang or a cone with an indentation in the shape of the trimmer, with an opening in the bottom for the charging cable. The latter appealed to me more. So i fired up OpenSCAD and modeled a simple cone as a starting point.
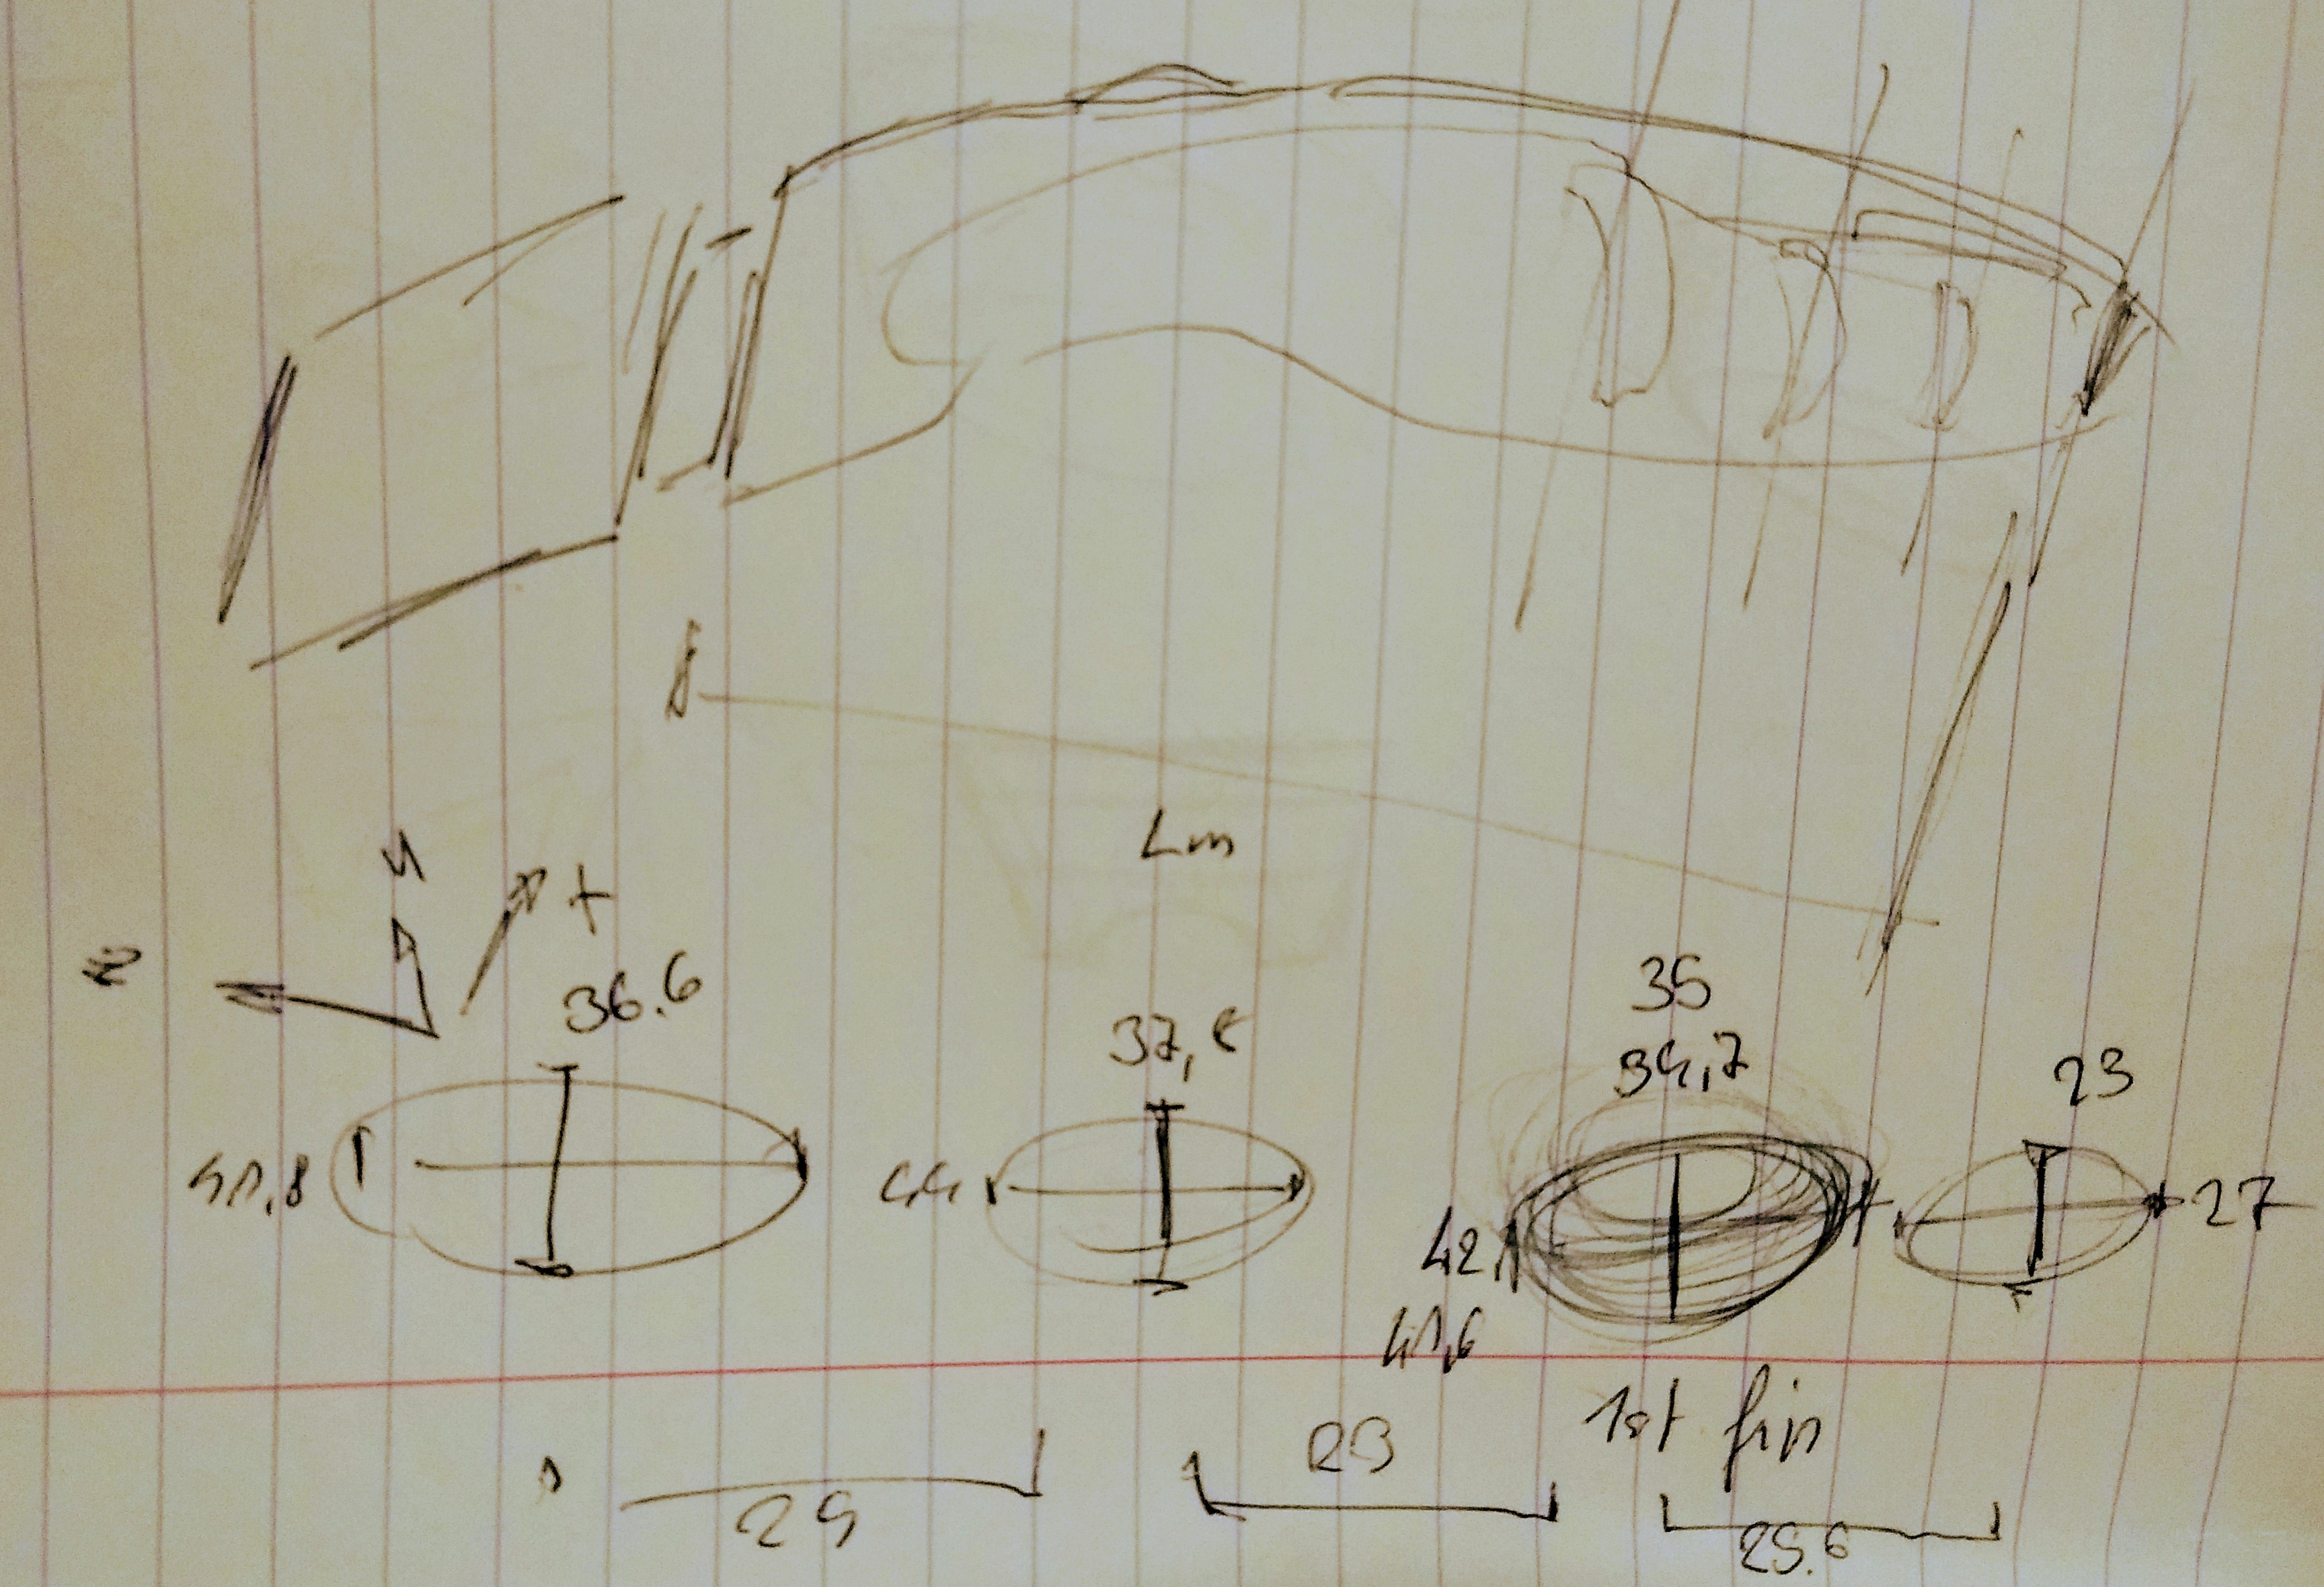
The trimmer has a rather organic form with some bumps in the side for a more ergonomic grip. I had no interest in modelling it down to the tiniest detail, so I just measured the outer edges of the bumps and approximated it with some cylinders.
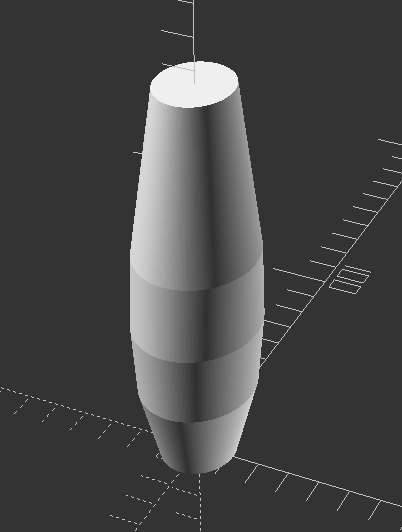
I didn't bother modelling the head of the trimmer in great detail, since it had no relevance for the stand. I just added another cylinder to give me a rough length estimate.
I then subtracted the trimmer model from my stand. Since the trimmer is shaped like a banana, I held it in a close to upright position and guesstimated the offset angle for my model to be around 15°, since I currently have a broken foot and was to lazy to get up and get a proper measurement tool. Luckily, the first print showed it was a pretty much perfect estimation.
Next I tackled the charger. After designing the outline, I added it to the trimmer model to make sure it had the right angle as well.
I also added a cable canal at the bottom.
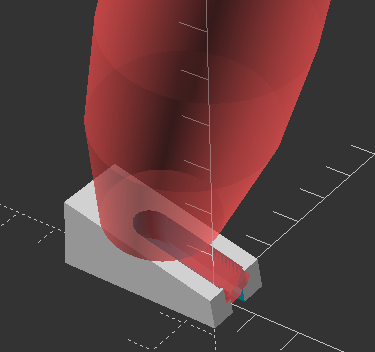
To get everything lined up, I used the # function in OpenSCAD. You can put it in front of any part, and it gets rendered in the preview as shiny and transparent.
I often use it to highlight the shapes I'm cutting out from objects so I don't have to guess their position from their negatives.
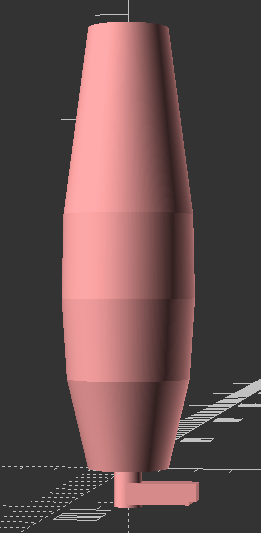
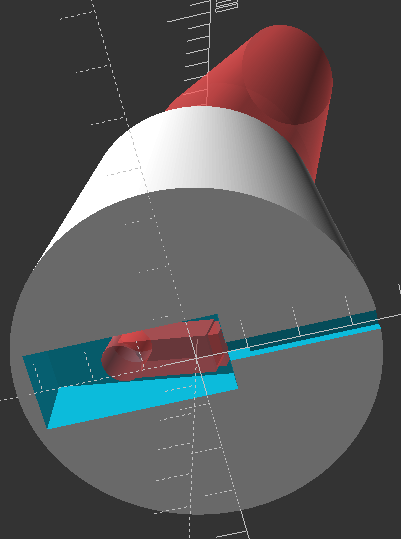
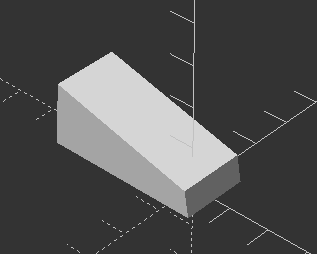
Since I had to get the charger plug in the right position and hold it there, I then designed a wedge shape. I just eyeballed the outline with a polygon and extruded it to be wider than the plug. It was used to create two parts: The bottom plug holder part, an intersection of my wedge and holder, and the top part, basically most of the cone shape minus the wedge. Since my printer doesn't have perfect precision, I scaled the wedge cutout to 102% in all directions, which also turned out to be a good guess.
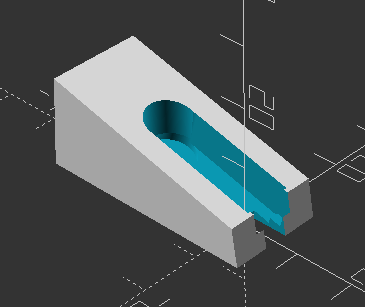
I quickly modeled in some manual supports as well for the overhang area where I cut out the bottom part.
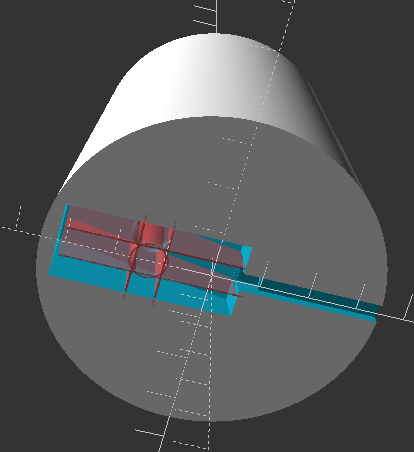
4 hours of printing time and a minute for removing the support and filing of some edges later the first print was tested in action.

Despite the many possible improvements, I'm pretty happy how this first prototype came out. It does exactly what I set out to do, was easy to print and matches the color of the trimmer pretty well. If it breaks or I feel a huge motivation boost, I will do a second revision. But for now, I will test it a few weeks.
You can find everything on my thingiverse.