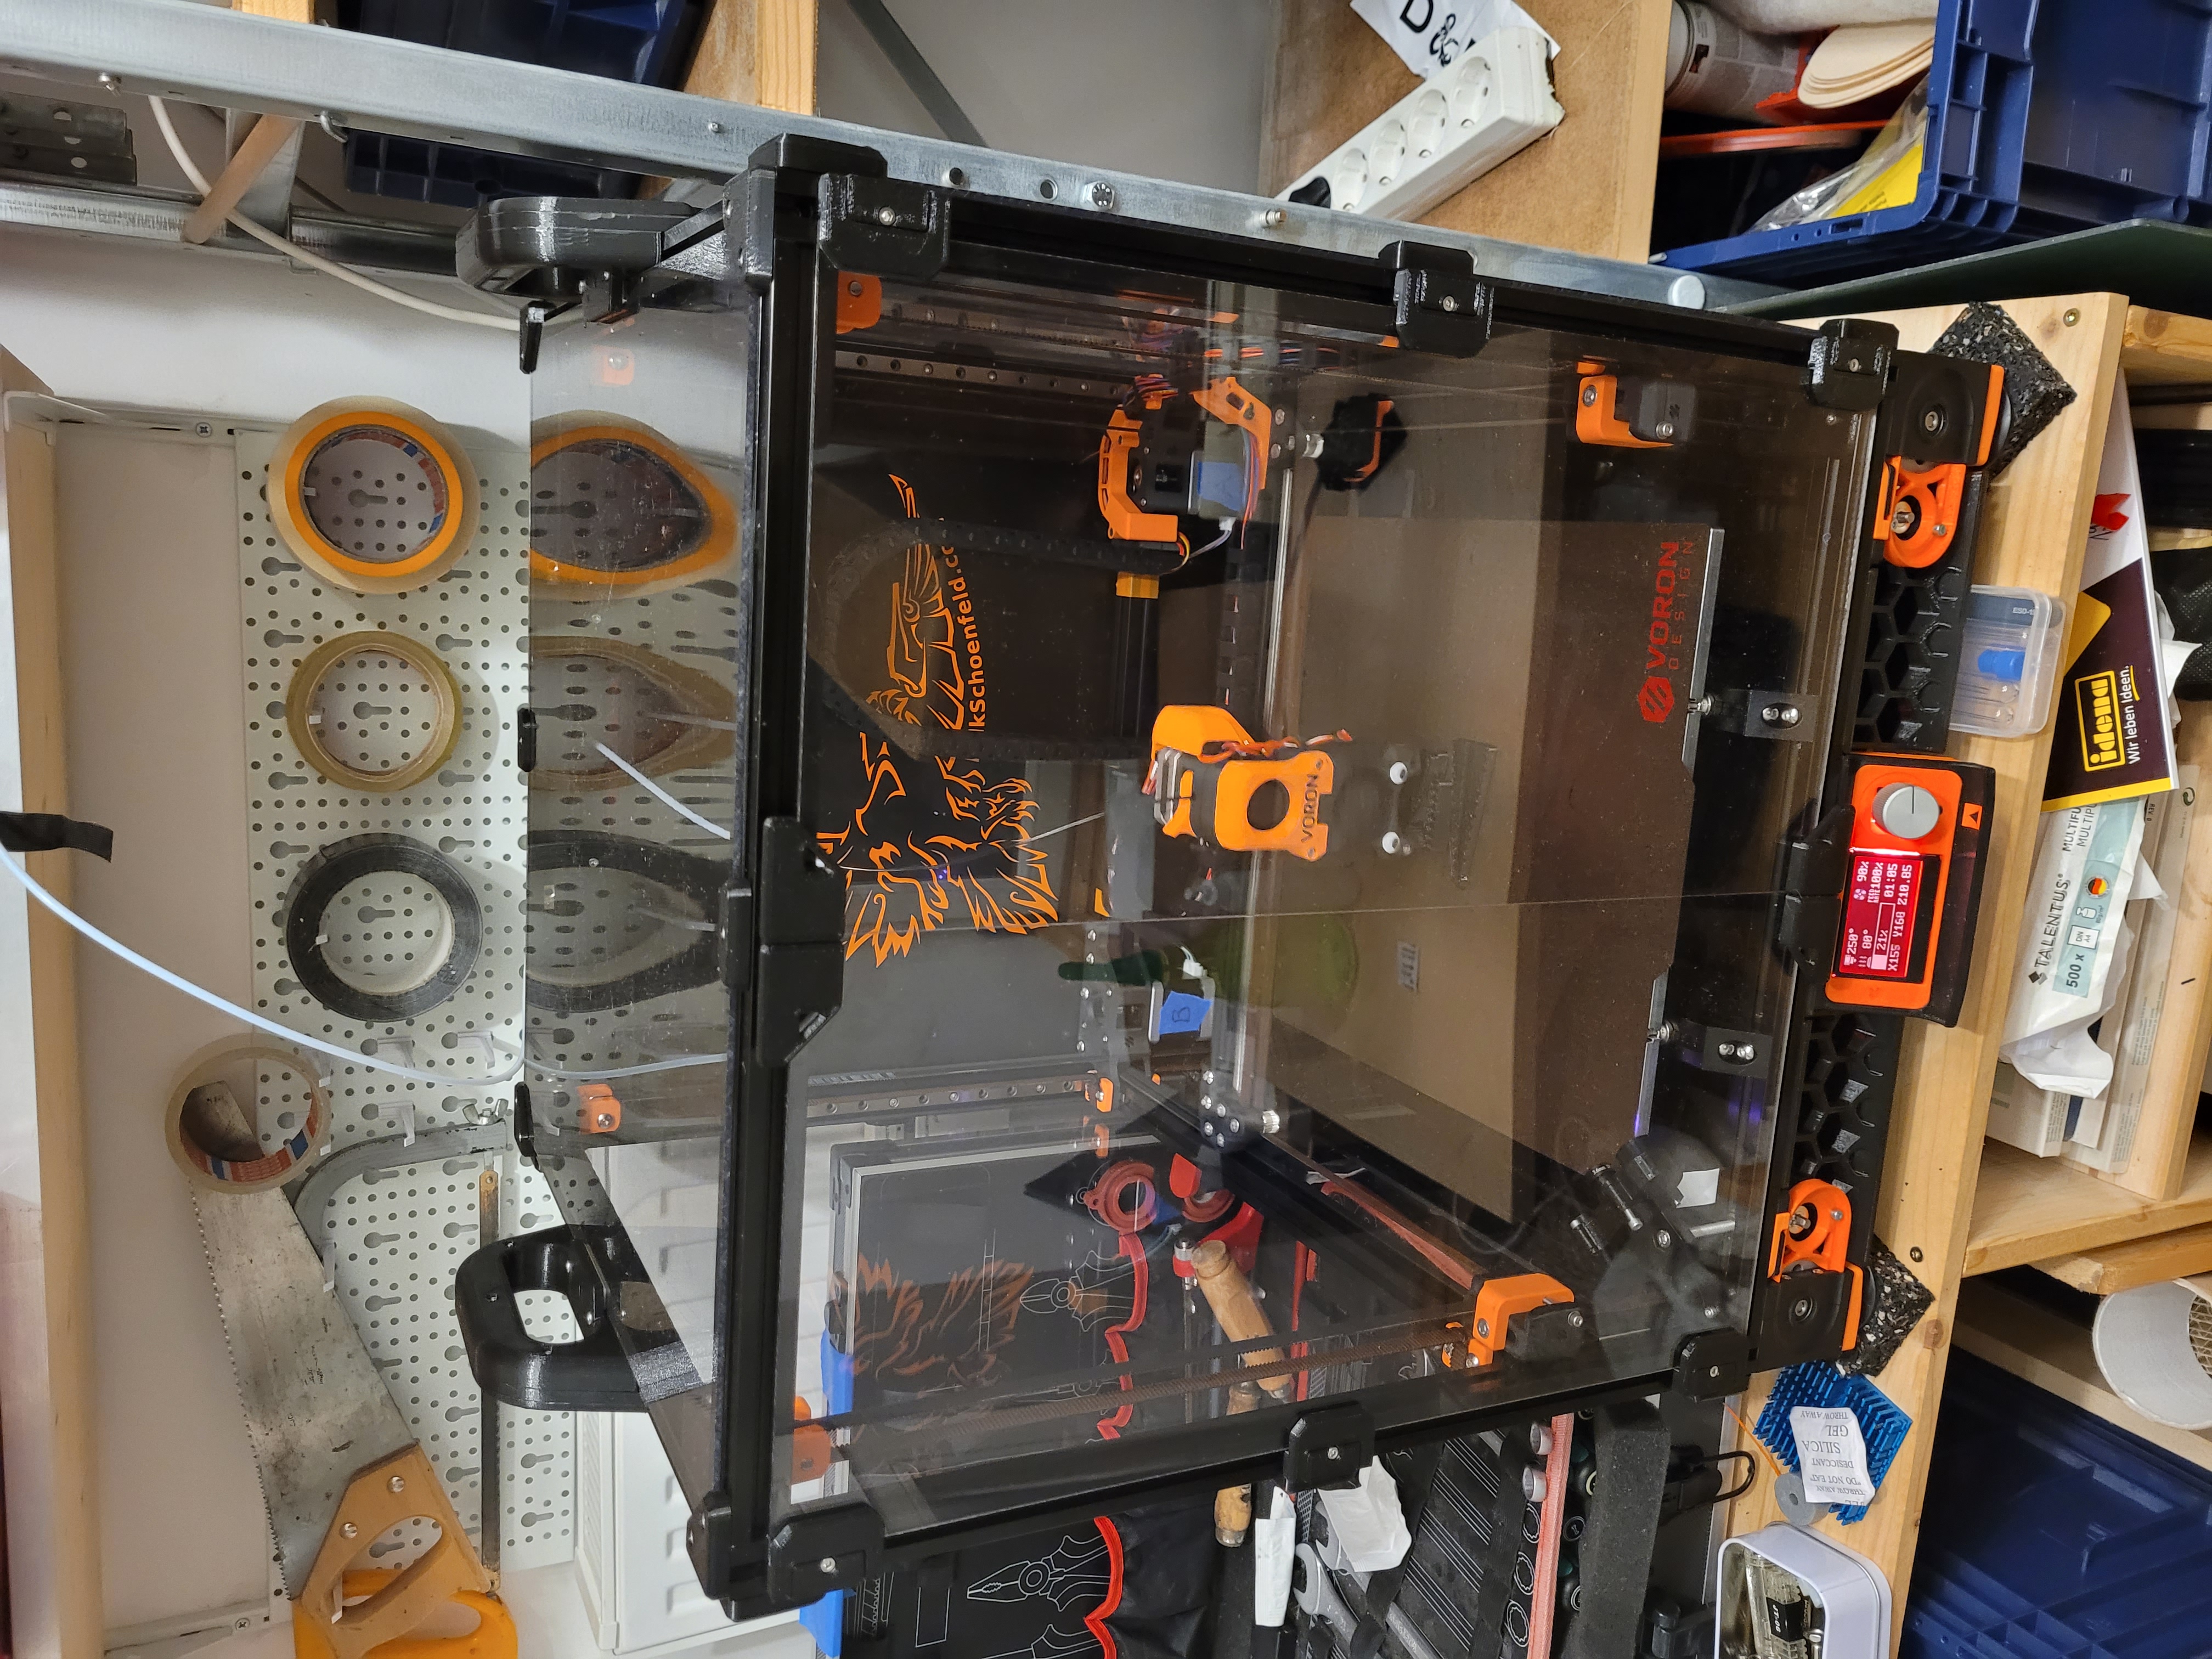
I started my FDM journey deciding to build a 3D printer because I was in the middle of my first university exams and wanted something practical to go along with all the theory. I had to tinker a lot over the years to keep it running at the performance I wanted from it, and I wanted something more compact, faster and reliable. But since I learned a lot from it, I wanted a machine which I could build and improve myself.
Over the years I watched a lot of Thomas Sanladerer's videos, and at some point he built a Voron 2.4, and also convinced Stefan from CNC kitchen to build another Voron model, with which he was also very satisfied. I also looked at some similar alternatives, like the Rat Rig V-Core 3, but somehow I just liked the Voron Open Source project style, its mechanics and aesthetics more. I also liked the concept of sourcing the parts from wherever you got them yourself.
Somewhat ironically, I didn't really have the time or desire to source everything myself, so I grabbed a Formbot kit of Aliexpress which included basically all parts. I also looked at more local alternatives, but almost all were out of stock. I waited apprehensively for two weeks until the delivery guy left it in front of my house without ringing the bell. Given that this was my largest order on Aliexpress ever, that left me a bit surprised, especially since they had carried a 5$ Amazon packet to a post office 4 km down the road the other day, but hey, at least nobody stole it.
Then I got onto the Voron Discord server to join the Print-It-Forward Queue, where other verified Voron owners print the basic parts you need to get started. In hindsight, I should have done this as soon as I ordered the parts, as I started out around spot 120 in the queue and had to wait 4 weeks until I reached the top. I chose orange as an accent color and a black as a main color. Once it was my turn, a swell guy called Stephan handled my order incredibly fast, and a couple of days later I had a packet full of ABS parts and got to unpacking the gigantic package from Aliexpress.
The Voron website has a fantastic build manual, and apart from 2 or 3 spots it was always clear what to do. Several times the guide linked to YouTube videos for more tricky sections which broke down perfectly what to do. For some reason the kit also included 8 similar linear rails, when only 7 were needed, and the one for X-axis movement should have had a bigger slider head to attach the printed parts correctly, so I ordered a suitable one. The main issue I faced was that I accidentally got the parts for a Dragon hot end instead of a V6 hot end, but Stephan quickly sent me the correct parts once I reached out. My build plate was missing holes for the fuse and ground, but that was quick to remedy. My Formbot kit also included a wrong inductive sensor, which protruded a bit more than it should, but since it was still 2-3 mm above my nozzle, that wasn't problematic in most prints. I have since replaced it, but it worked for 50+ prints. My power inlet was not the main recommended one, so the skirt part I got was not suitable. I also missed a bracket for a power supply. I attached both with a zip tie and kept going. At a few points I ran out of T-Nut inserts for M5 screws and temporarily affixed parts with M3 screws with washers until my resupply arrived, but other than that everything went nicely. I reached the state of print-readyness. At that point, the parts from the Print-It-Forward request run out, and you have to print the rest - namely skirt parts, holders for the enclosure, etc. - yourself.
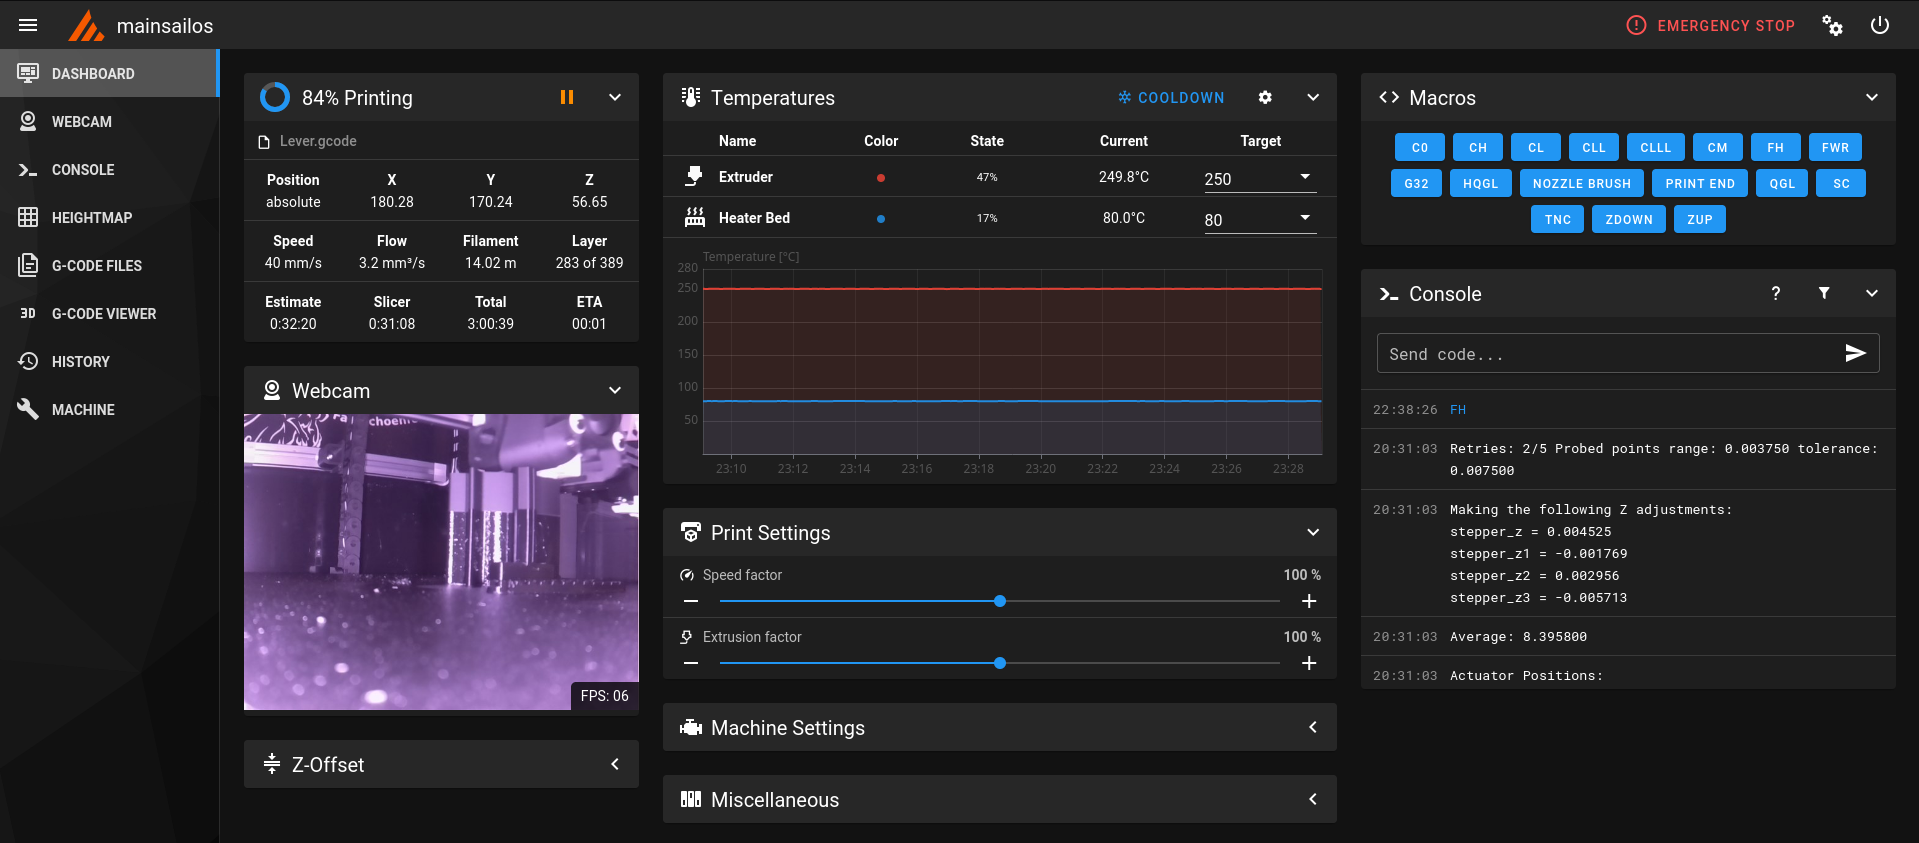
The Voron website has great guides for initial setup and tuning. Somehow I ended up install Octoprint first, despite being unnecessary, but then switched over to Mainsail and Klipper. I tested all the electronics and inverted and fine-tuned a couple of homing sensors, but basically everything worked out of the box. The first test print was naturally the Voron test cube. Halfway through, the old black PLA filament roll which I used ran out, and I switched to another without problems, something which would have never worked that easily on my old Kossel, especially while using the interface for the first time.


With the baby issues handled, I started pumping out parts to hold the LCD, the power inlet, and the fans to cool the electronics. Then I quickly threw together a wire brush holder, because I did not want to manually clean the nozzle at each print start. That drastically improved usability. It also showed off quickly how good the Klipper interface is. It provides custom G-Code macros, and within 10mins I had whipped up a nozzle cleaning macro which would brush off my nozzle across the brush thrice before homing again and starting the print. No need to port that to Cura, it is just part of the machines own startup - where it belongs in my opinion, as the brush position is highly machine specific. With that cleared, I alternated other projects and printer parts, first finishing off the enclosure, then the skirt. Once the skirt was finished and I had all the parts ready to close off the electronics compartment, I rerouted all the cables once again. While I had tried to do it properly the first time round, I had added some electronics like fans and a camera, and I now knew it was going to stay that way for a while.
The Formlab kit gave a solid start, but didn't include everything and some parts were for outdated versions of the Voron. The pack I bought has since been updated, so I'm not sure if that still holds true, but expect to buy some stuff elsewhere. In general, the parts seemed fine though. If you buy stuff yourself, you spend more time, and end up with more spares, for roughly the same price. You also have more control over which parts you choose.
The Voron is fast. I usually print around 120mm/s, but have seen no problems upping that speed to 250%, so I will gradually up my default speed until I find the sweet spot. My extruder motor is running a bit hot, so it might get some cooling fins soon.
The flexible bed is way more practical for print removal than my previous Kossel print bed, but that is nothing Voron-specific.
The firmware and web interface are super comfortable to use.
The official Voron guides online are usually clear and comprehensive.
The entire machine seems well-thought-out and there are even some template parts printed especially for alignment of other parts during the build, which makes everything a breeze.
I usually do nothing more than upload the file to start a print, and every few prints check the nozzle and wipe down the bed with soap water and isopropanol. My print history shows 2/3 of my 150 prints so far were successful, and those include all the tuning prints in the beginning, which I usually aborted before the end. Overall, I would guess my current print success rate is around 80-90%, and the machine feels like I don't need to spend any effort on preparation besides slicing.
I still wouldn't recommend it if you don't like tinkering, and to be honest, you could get 3-5 Enders for the 1200€ I paid altogether, so while it is fast, it might not be the best bargain if you are going for sheer volume.
It is however also super easy to mod, repair and upgrade and just generally a huge joy to use, so if you want that, I can absolutely recommend the Voron 2.4.