As you might remember, I've designed my own logo and planned on putting it on things since a while. I've even tried to do so on my chalk bag using a laser-cut MDF stencil, but that didn't turn out so well.
I've since thought about buying large scale stickers or using laser cutters to cut better stencils, but never got around to it until I cooked up a new large scale electro-etching project. While that will be a post on its own in the future, suffice to say it will involve etching several A4 sized steel plates. A friend of mine has done similar projects with great success before, using foil plotters to transfer negatives of his designs onto the metal, allowing him to etch just what he wanted. He offered to let me use his etching equipment, but unfortunately his mate who had the foil plotter is on a sabbatical right now.
So I splurged and bought a cutting plotter.
A cutting plotter is basically a printer, but the ink/toner nozzle is replaced with a knife. It can move its knife over the material in 2 dimensions, and cut out designs precisely. In my case, I got the Silhouette Cameo 4. It's also able to cut thicker material, and you can replace the knife with different pens to just use it as a plotter.
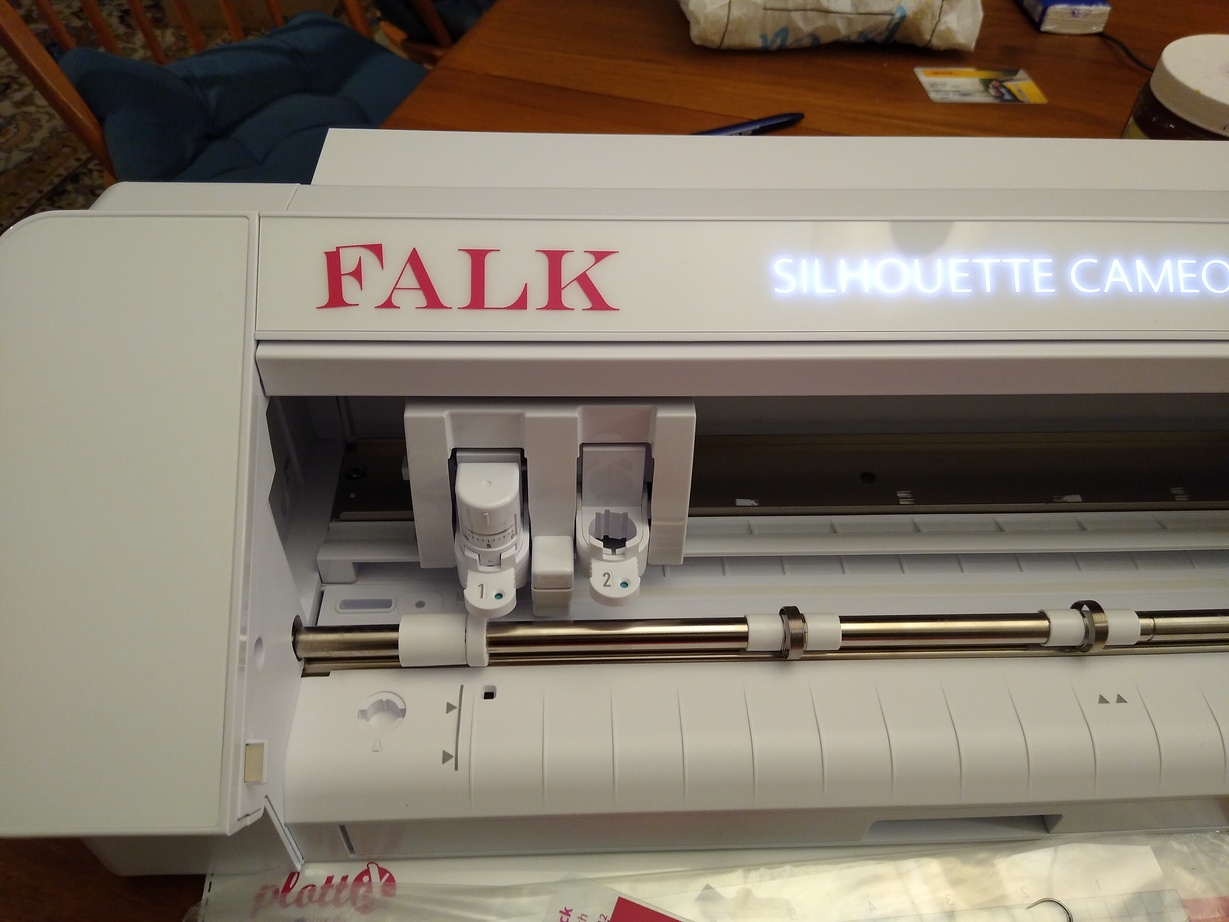
Control happens via a simple software, which takes PNG and JPG images and can trace their outlines. I was surprised that it didn't like SVGs out of the box, but exporting my design was no challenge. Unfortunately, it is designed for Windows and Mac but not for Linux. No biggie, it ran perfectly from inside a virtual machine. I might try it out in wine at some point.
The program offers some intuitive controls for most stuff and the user interface is simple. I didn't use much of it, since I already exported external designs, but the tutorials on Silhouette's website and on YouTube are great.
I also got a 3rd-party vinyl foil pack and some extra cutting mats for starting. After choosing a pink vinyl foil for starters, I stuck it to a cutting mat. Once its left edge is aligned with the mark on the machine, the rollers can be adjusted and an arrow button tells the machine to pull it in.
Then the design is readied in the software and aligned on the virtual representation of the mat. Red lines show where the machine will place cuts. Proceeding to the "Print" settings, I chose a preset named "Vinyl (matte)" and pressed the test button, which will cut out a tiny arrow in a box in the top left corner of the material. That allows testing if the current cutting depth is adequate. I had to slightly increase mine from 1 to 2 and was then ready to go.
I first cut out my name in fancy letters and stuck it on the machine. After manually transmitting a single letter, I quickly realized that using transfer foil (basically transparent foil used to lift off and place all cut out parts of the design at once) is a wonderful idea. That took maybe 15 minutes from installing the software.
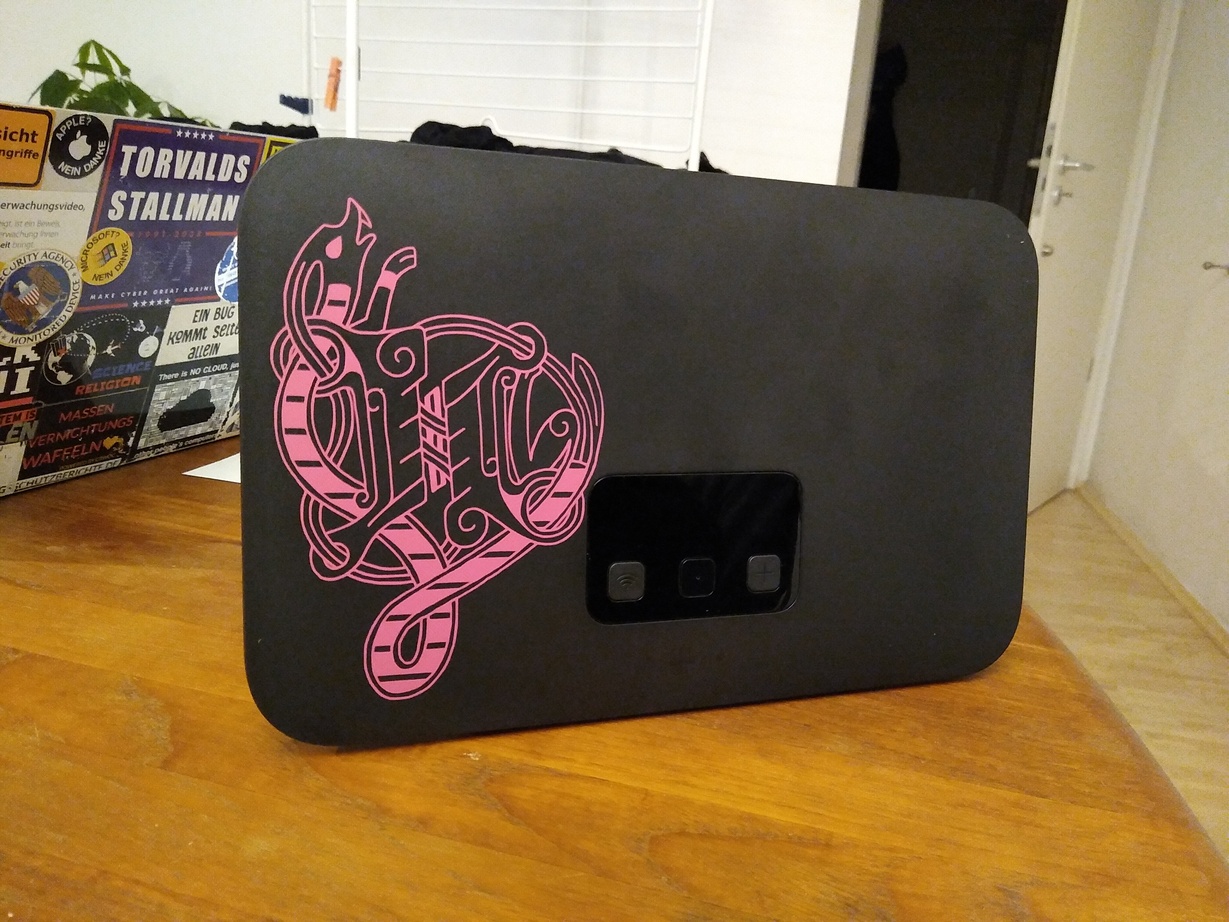
I then tried a larger, more detailed and complex design one of my friends made my other electro-etching friends. It came out perfectly. Taking out all the unwanted cut-out pieces with the toothpick like device which was included in my vinyl pack took quite some time. It was more of a test piece, but the pink color reminded me of Telekom, my current internet provider, so I stuck the design on my router (which is really mine, and not provided by them. No worries, I don't have to scratch it off again).
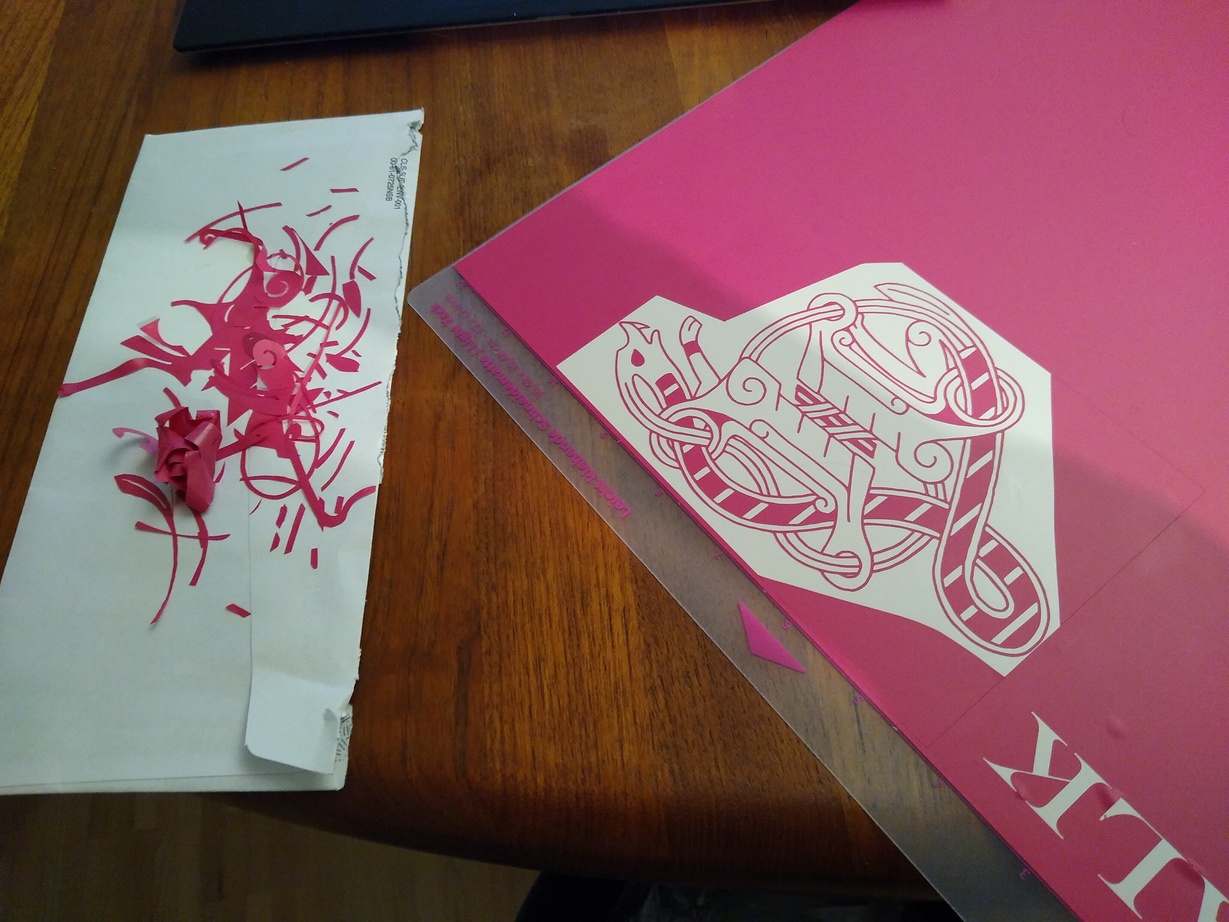
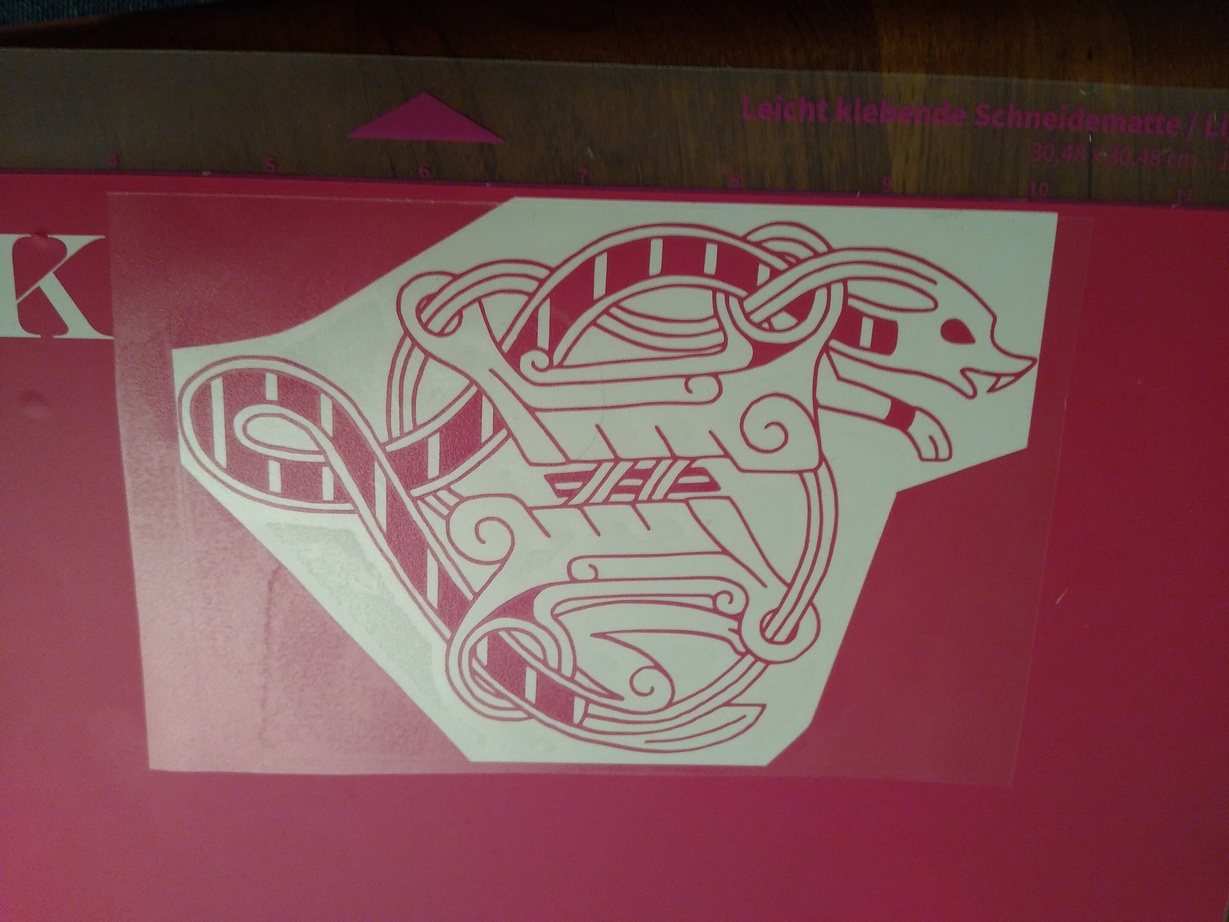
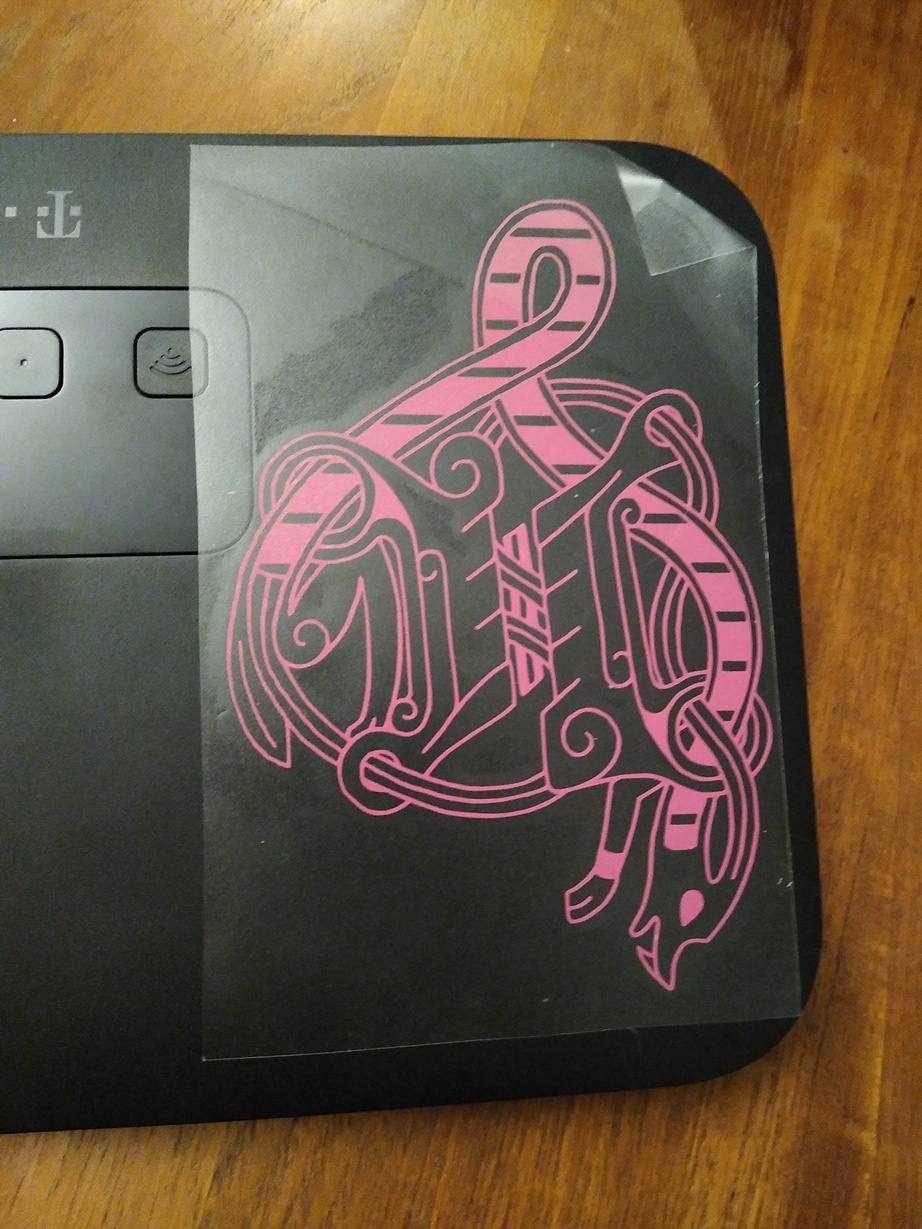
Next I tried my own logo, and stuck it on an old ThinkPad, which I had wanted to customize for a while now. Other than the earlier design, it has no connected parts, and getting all different wing elements to stick to the transfer foil took quite some time. In the future, I would probably remove the surrounding material first, but I wanted to try and get both a sticker and a stencil with one cut. It remains to be seen if the negative is still straight enough to make a good stencil.
For this design, I actually had to try twice: The first time, I had left the cross-cut mechanism at the back somewhere in the middle of the machine and it blocked the cutting mat from passing through. That in turn made the motors skip with some ugly noise when it tried to cut the mat further, and messed up the first try. After aborting the process, I measured how much the first try had cut into the material, drew a square of this size in my design zone, and placed my logo so that it would not overlap. Then I deleted the square again to prevent unnecessary cuts. Super simple.
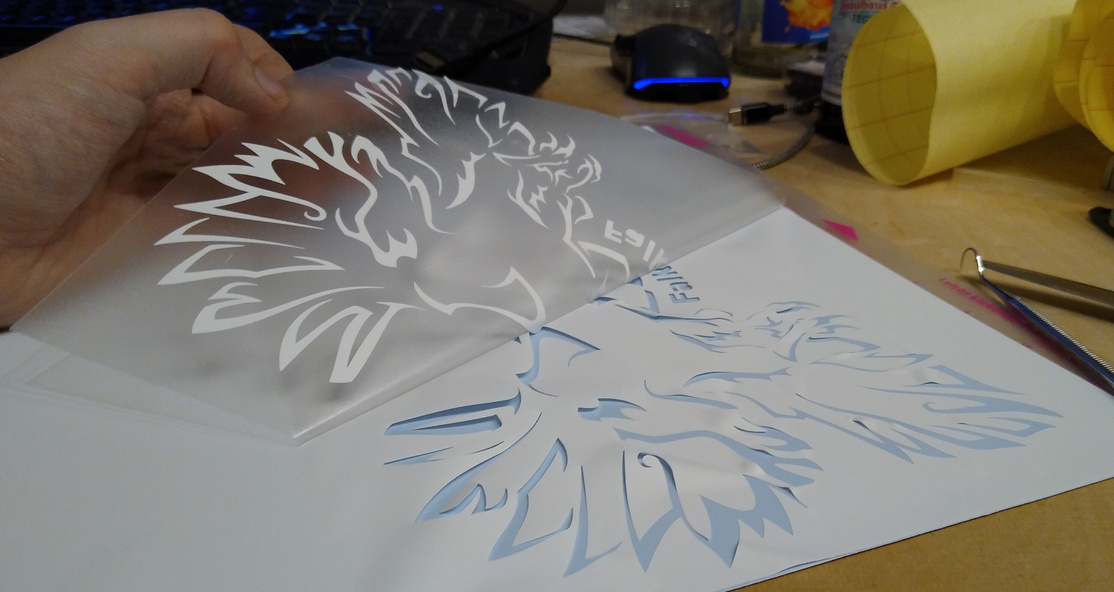
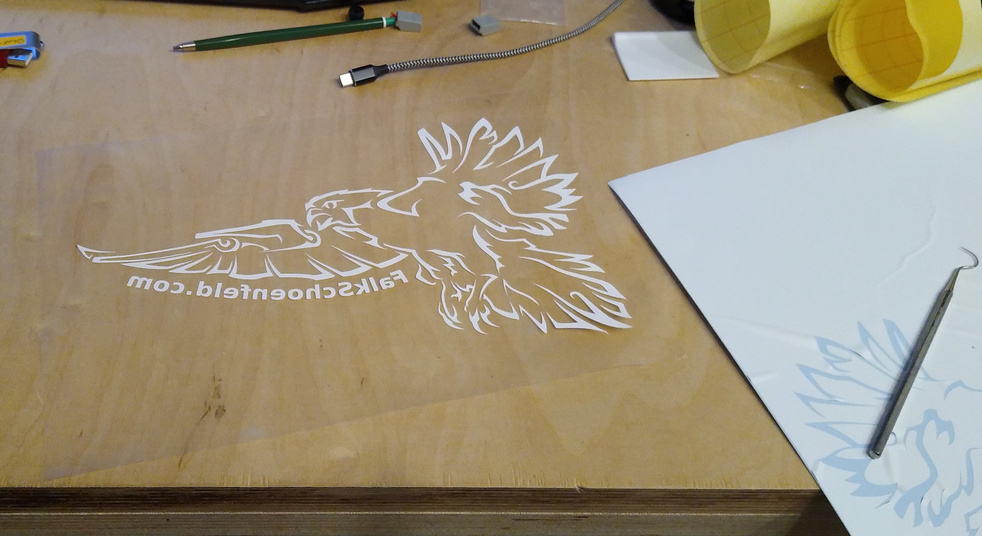
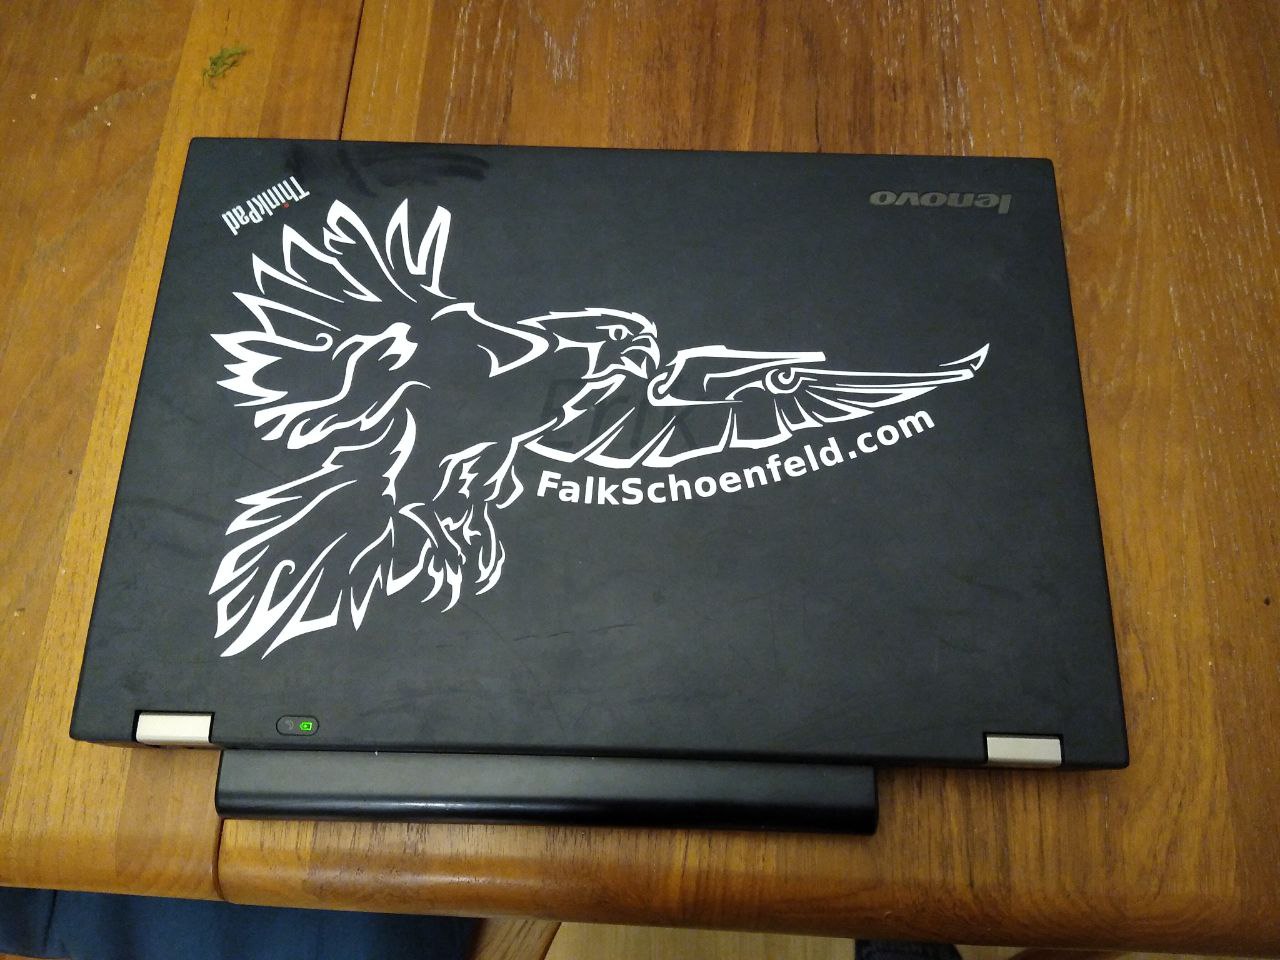
The results are pretty amazing! Setup was minimal, controls intuitive. The blade holder works well. So far, this is a pretty well-thought-out machine. I haven't tested the cross-cut mechanism, the integrated roll holder or the second "Kraft Blade", for cuts up to 3 mm, e.g. in leather, yet.
If you plan on getting a similar machine, here are some other tips I learned: