You might remember my previous journey into split keyboards, where I got a Ergodox EZ from a friend to try and only kind of liked it. After that, I got a BuzzSaw kit from gHeavy Industries, which I liked, but never quite got to work well enough to be a daily driver. Maybe that's a blog post for another day, when I finally fix it up.
Then, in the height of Covid, I was browing r/MechanicalKeyboards and came across an IC for a yellow Corne keyboard from a Spanish guy. This post is about my experiences building, modding and using it.
For those of you who don't know the IC term, here's a short rundown: Buying exotic keyboards can often only be done via dedicated resellers or by directly ordering PCBs and electric components yourself. JLCPCB, PCBWay and most other manufacturers offer a minimum order volume of 5 PCBs, which means you order at least 2.5 split keyboards. Buying components in bulk is cheaper, too. Now consider that one of these keyboards usually costs at least 80-100$ with switches, and that sky is the limit for the upper end of the price range. It is therefore no surprise that people try to sell off their surplus. This is done in so-called Group Buys (GBs), and before one is started, an Interest Request (IC) gauges the level of interest in the community to join one.
The Corne is basically the 40% split keyboard out there. If you see a picture of a fancy, flat, minimal, split keyboard, 90% of the time it seems to be the Corne. So it is a well-known and relatively wide-spread design. I decided to get one because it was easier than designing my own from scratch, closer to what I imagined I wanted after the Ergodox and BuzzSaw, and was a proven design.
After filling the IC, the GB started. These tend to take forever. Initial delivery times were estimated in a couple of months, but with some components arriving way later at the organizer, it quickly rose to almost a year. That is completely normal, even to be expected, and way lower than the GB durations for some GMMK keycap sets.
As a result, the rush you feel when you finally get the packet is way bigger, so I guess it is alright. Apart from the delay, the GB went nicely, the GB's organizer kept us updated and was motivated. Everything was as it should be, and after some wait I finally had my kit my hands.
Assembling a Corne is not that hard, if you have a bit of soldering skills. However, it does help if you read the instructions. Like, all the instructions. And maybe the ones for different variants and in Japanese too. The pictures help as well :D
Anyway. I assembled everything and some of my LEDs did not work. Turns out, the LEDs don't like heat, and if you solder them with 350°C like I did, you're gonna have a bad time. The part about lowering your soldering iron's temperature for them was only present in one of the instruction variants I read later on. Luckily it is easy to debug, and after ordering another 200 or so of the same LEDs for 5$, I began replacing LEDs in the chain until everything worked, which was an experience in itself, but doable.
I ordered some OLED screens with it, knowing I would not really need them but wanting to try them for the 8$ price tag anyway.
The CRKBD is powered by two ProMicro ATmega32u4 controllers (one in each half) running QMK. I started off with a fairly standard QWERTY layout, then added some LED control, and special keys on a layer. Basically just enough to get me started. Then comes the point where you force yourself to use it, and change everything which feels like a bother until it feels better.
I added secondary Workman layout with a button to change between the two. That allowed me to learn the workman layout easily. Then I read about mod-tab behaviour, my favourite feature of QMK and similar keyboard software. I delved deeper and and finally added some home row mods.
I played with the LED behaviour, but figured out that their light mostly annoyed me, so I compiled without support for them to ensure they were always off. I also added some cyberpunk animations and WPM counters to the OLEDs, but again, similar to the LEDs, I don't look at my keyboard while typing, and it only annoyed me.
I managed to build the keyboard during my master's thesis, probably the time in my life with the most amount of daily typing in my entire life. Procrastination trying to touchtype with the keyboard and various typing training websites (keybr.com, typelit.io, speedcoder.net, etc.) ran rampart and it is safe to say I typed rather to much than too little on it. And it was nice. I adapted easily to the column stagger and never wanted to look back.
It just feels nice to have all keys closer. I love the three thumb keys. I love space on my right thumb and backspace on my left one. It just feels natural. Mod-Tab behaviour (where quickly tabbing a key might type a space, but holding it down might activate shift) is a great feature and one of my favourite things about the keyboard. Home row mods took some getting used to but were absolutely worth it.
Having the option to quickly change to workman made me learn the layout to the point where I can reach ~65 WPM on most days. It works better than QWERTY and I really like it. However, I have an i3 and VIM setup and use both extensively. That is fine while you only work on your machine, and great while you are at home. The moment I went back to university and touched uncustomized hardware, it all went to shit and my muscle memory worked against me, which is a bummer in these heavily optimized environments. I also noticed that my bottleneck is hardly ever my typing speed but usually my thinking speed, so I mostly stayed with QWERTY except for pure text.
I missed the number row and never got around to making a dedicated replacement layer. Maybe I am not quite ready for that yet. Maybe I will be at some point in the future. Only time will tell.
At some point I found the Miryoku layout and began stealing inspiration from it. At one point I even said so on a reddit thread and the maintainer motivated me to do so. I suggest you do the same, it has some neat tricks.
Most of that is just standard QMK stuff, and not specific to Corne or split keyboards. The hand positioning did turn out to be very relaxing though, much more so than my standard keyboards.
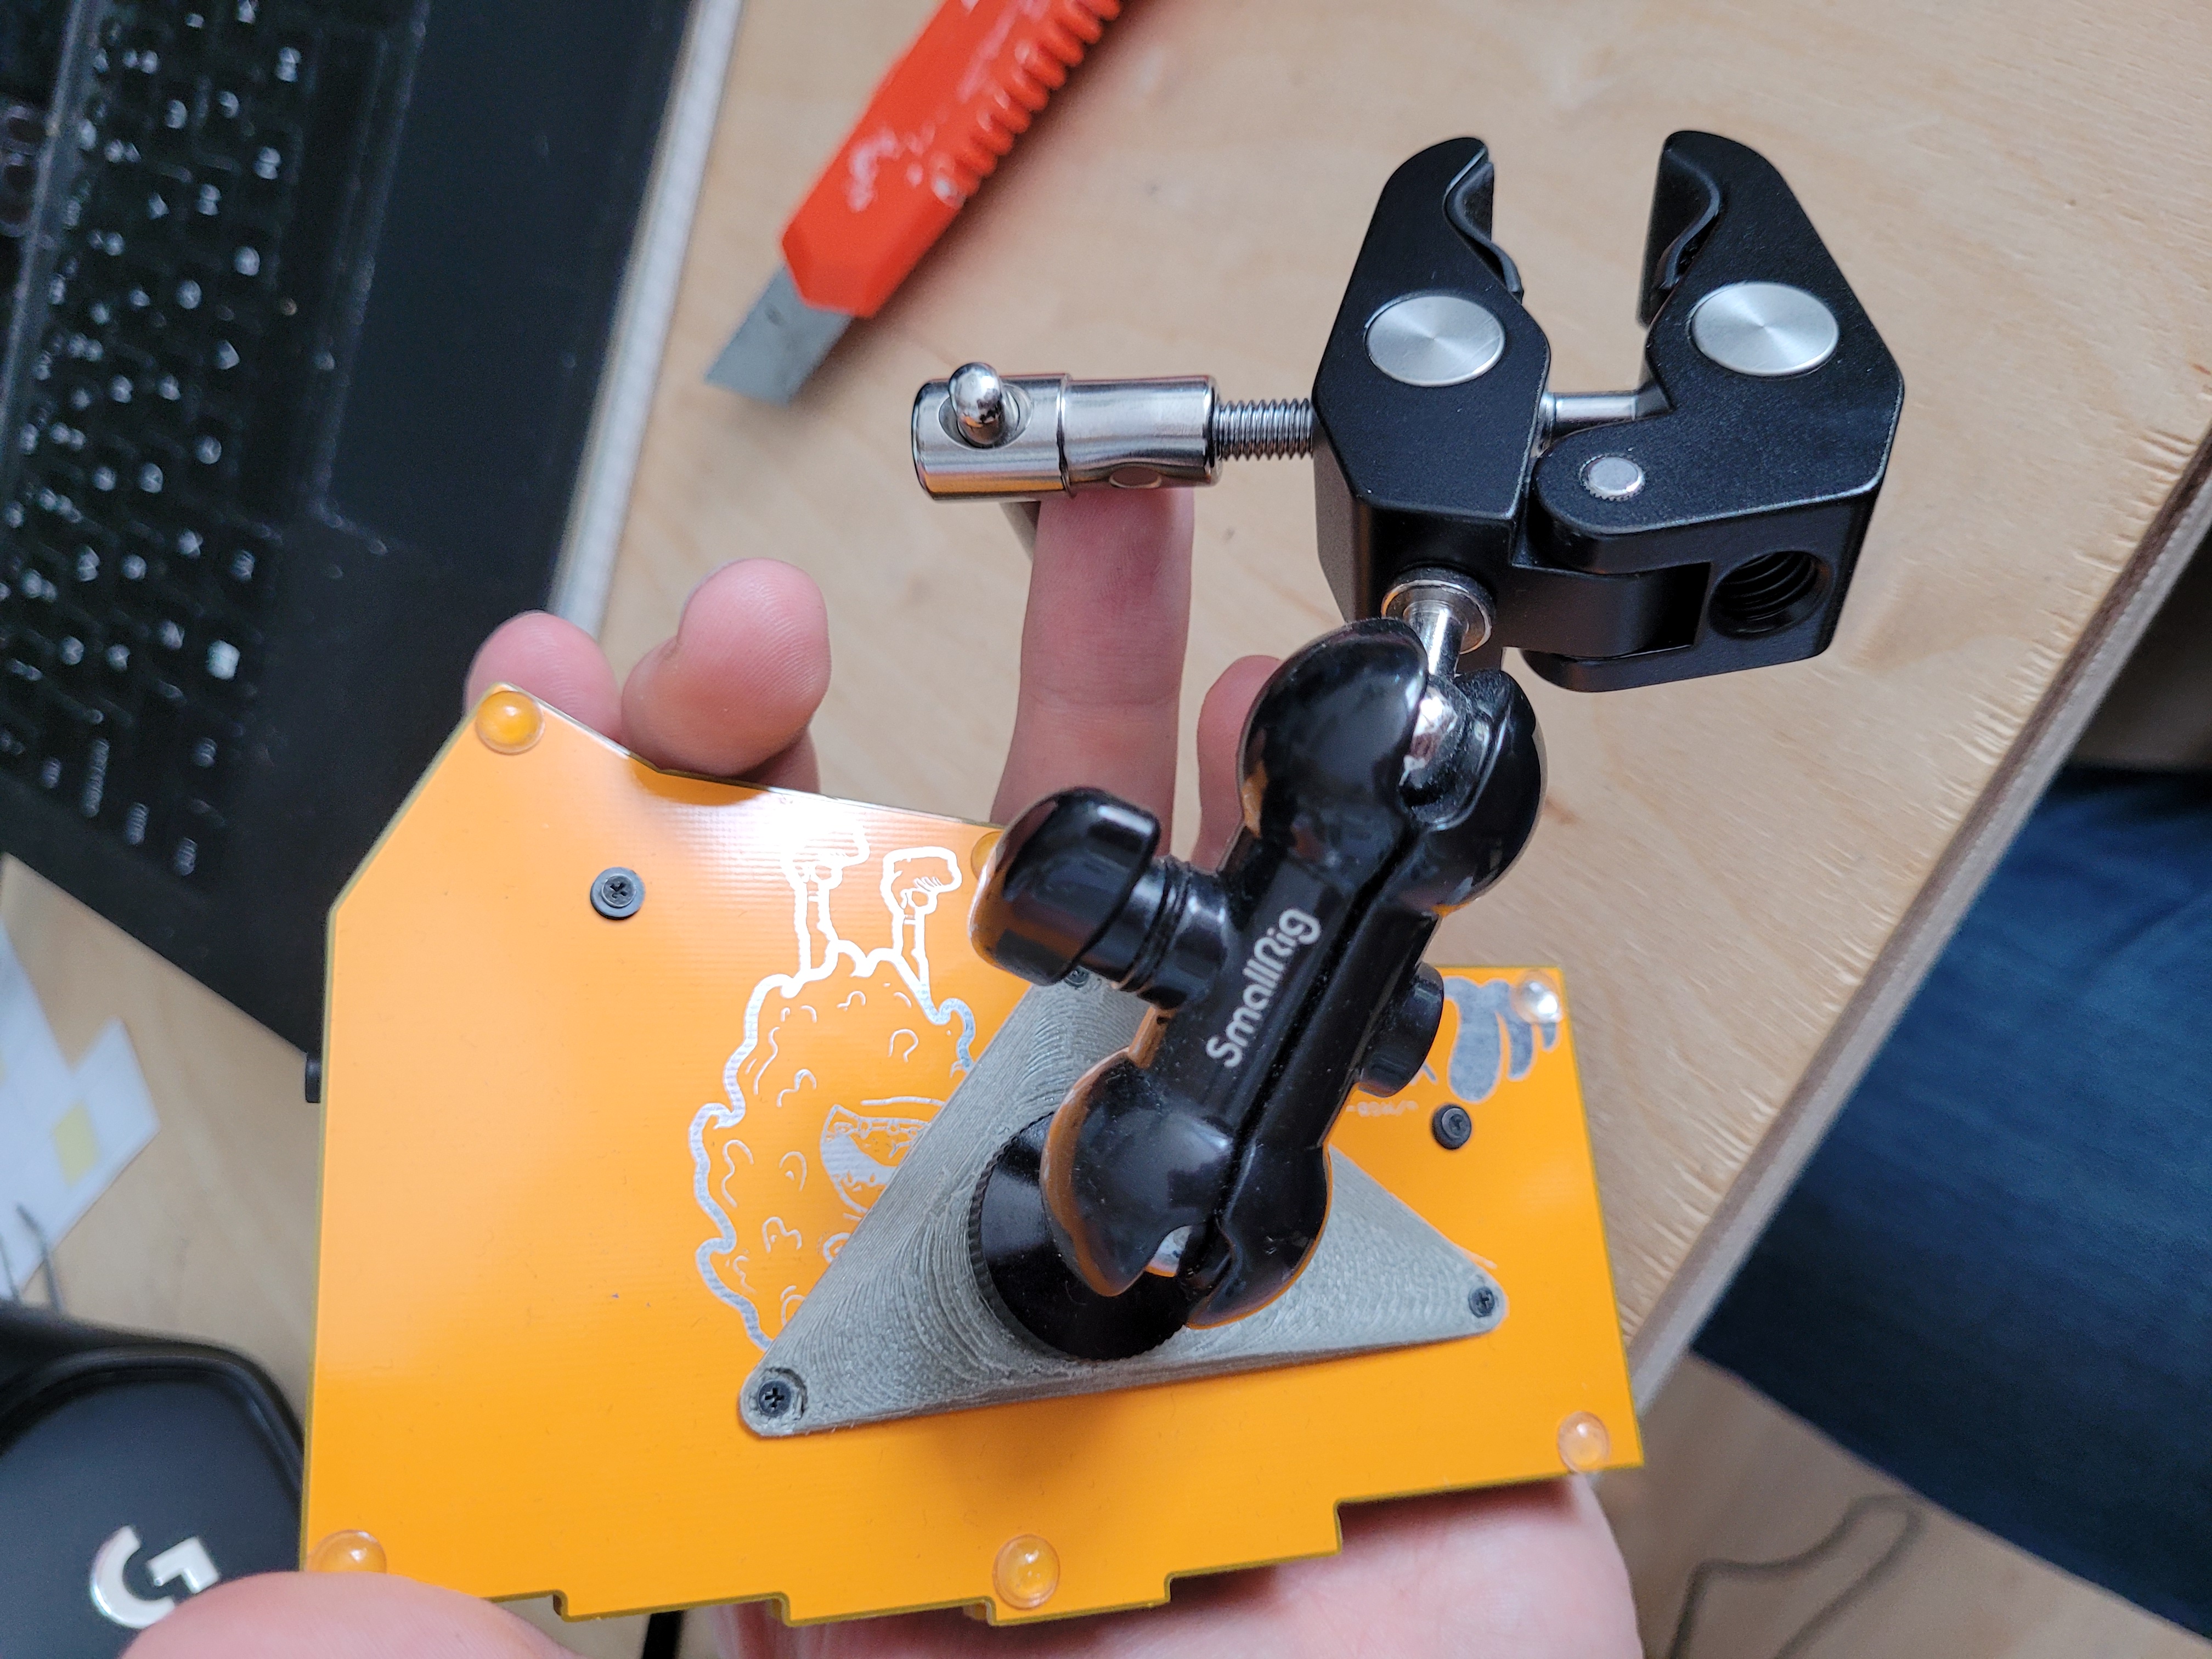
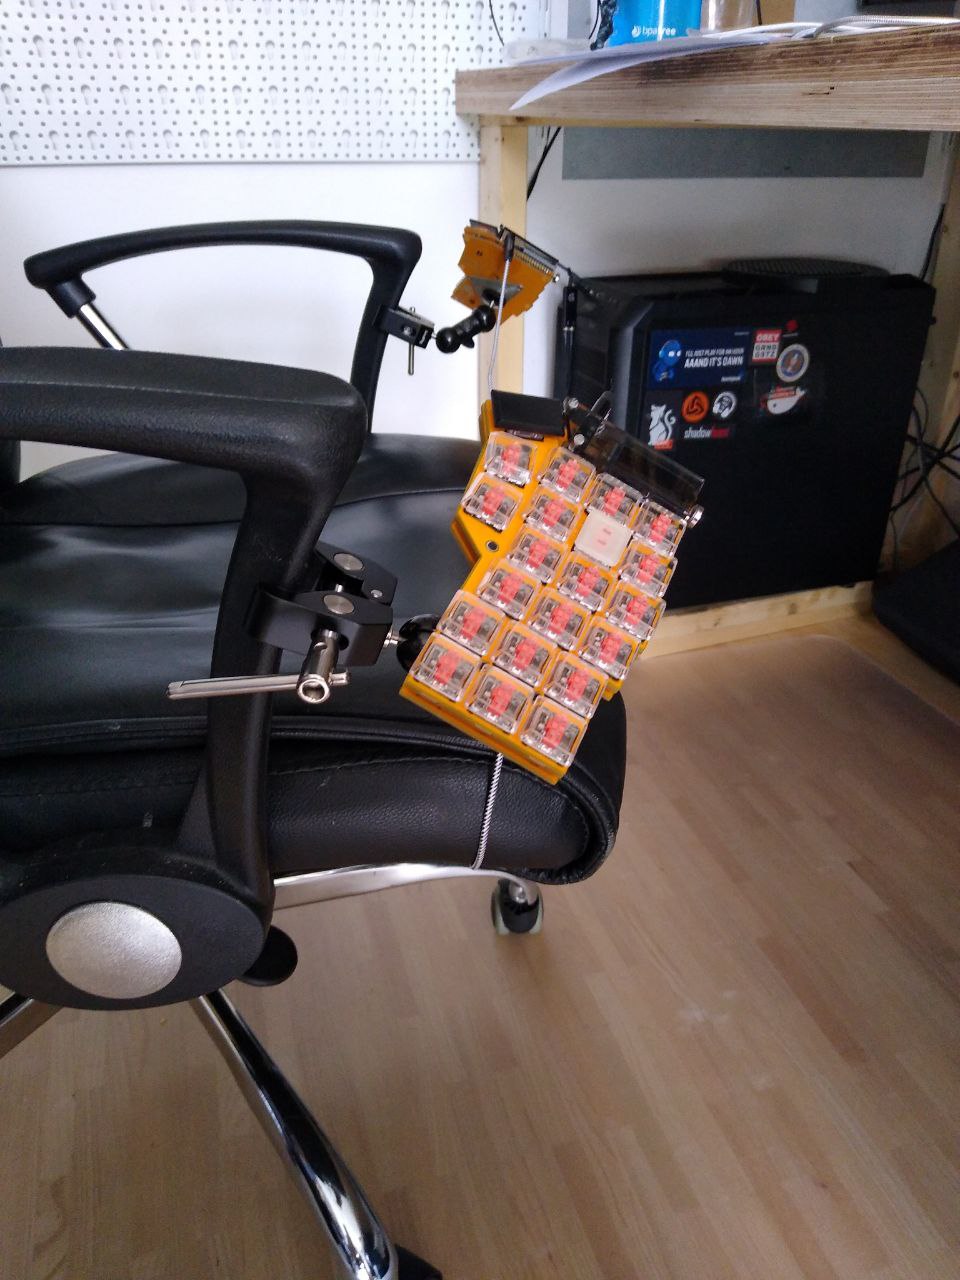
At some point I saw a reddit post where somebody used two camera mounts to attach the halves to the armrests of his chair. I ordered the same ones and printed some attachment points for my keebs. That started the most chill writing phase of my entire thesis. The feeling of leaning back in an office chair, hands comfortably on your armrests, and typing away is premium. It was the moment I knew the entire process was worth it.
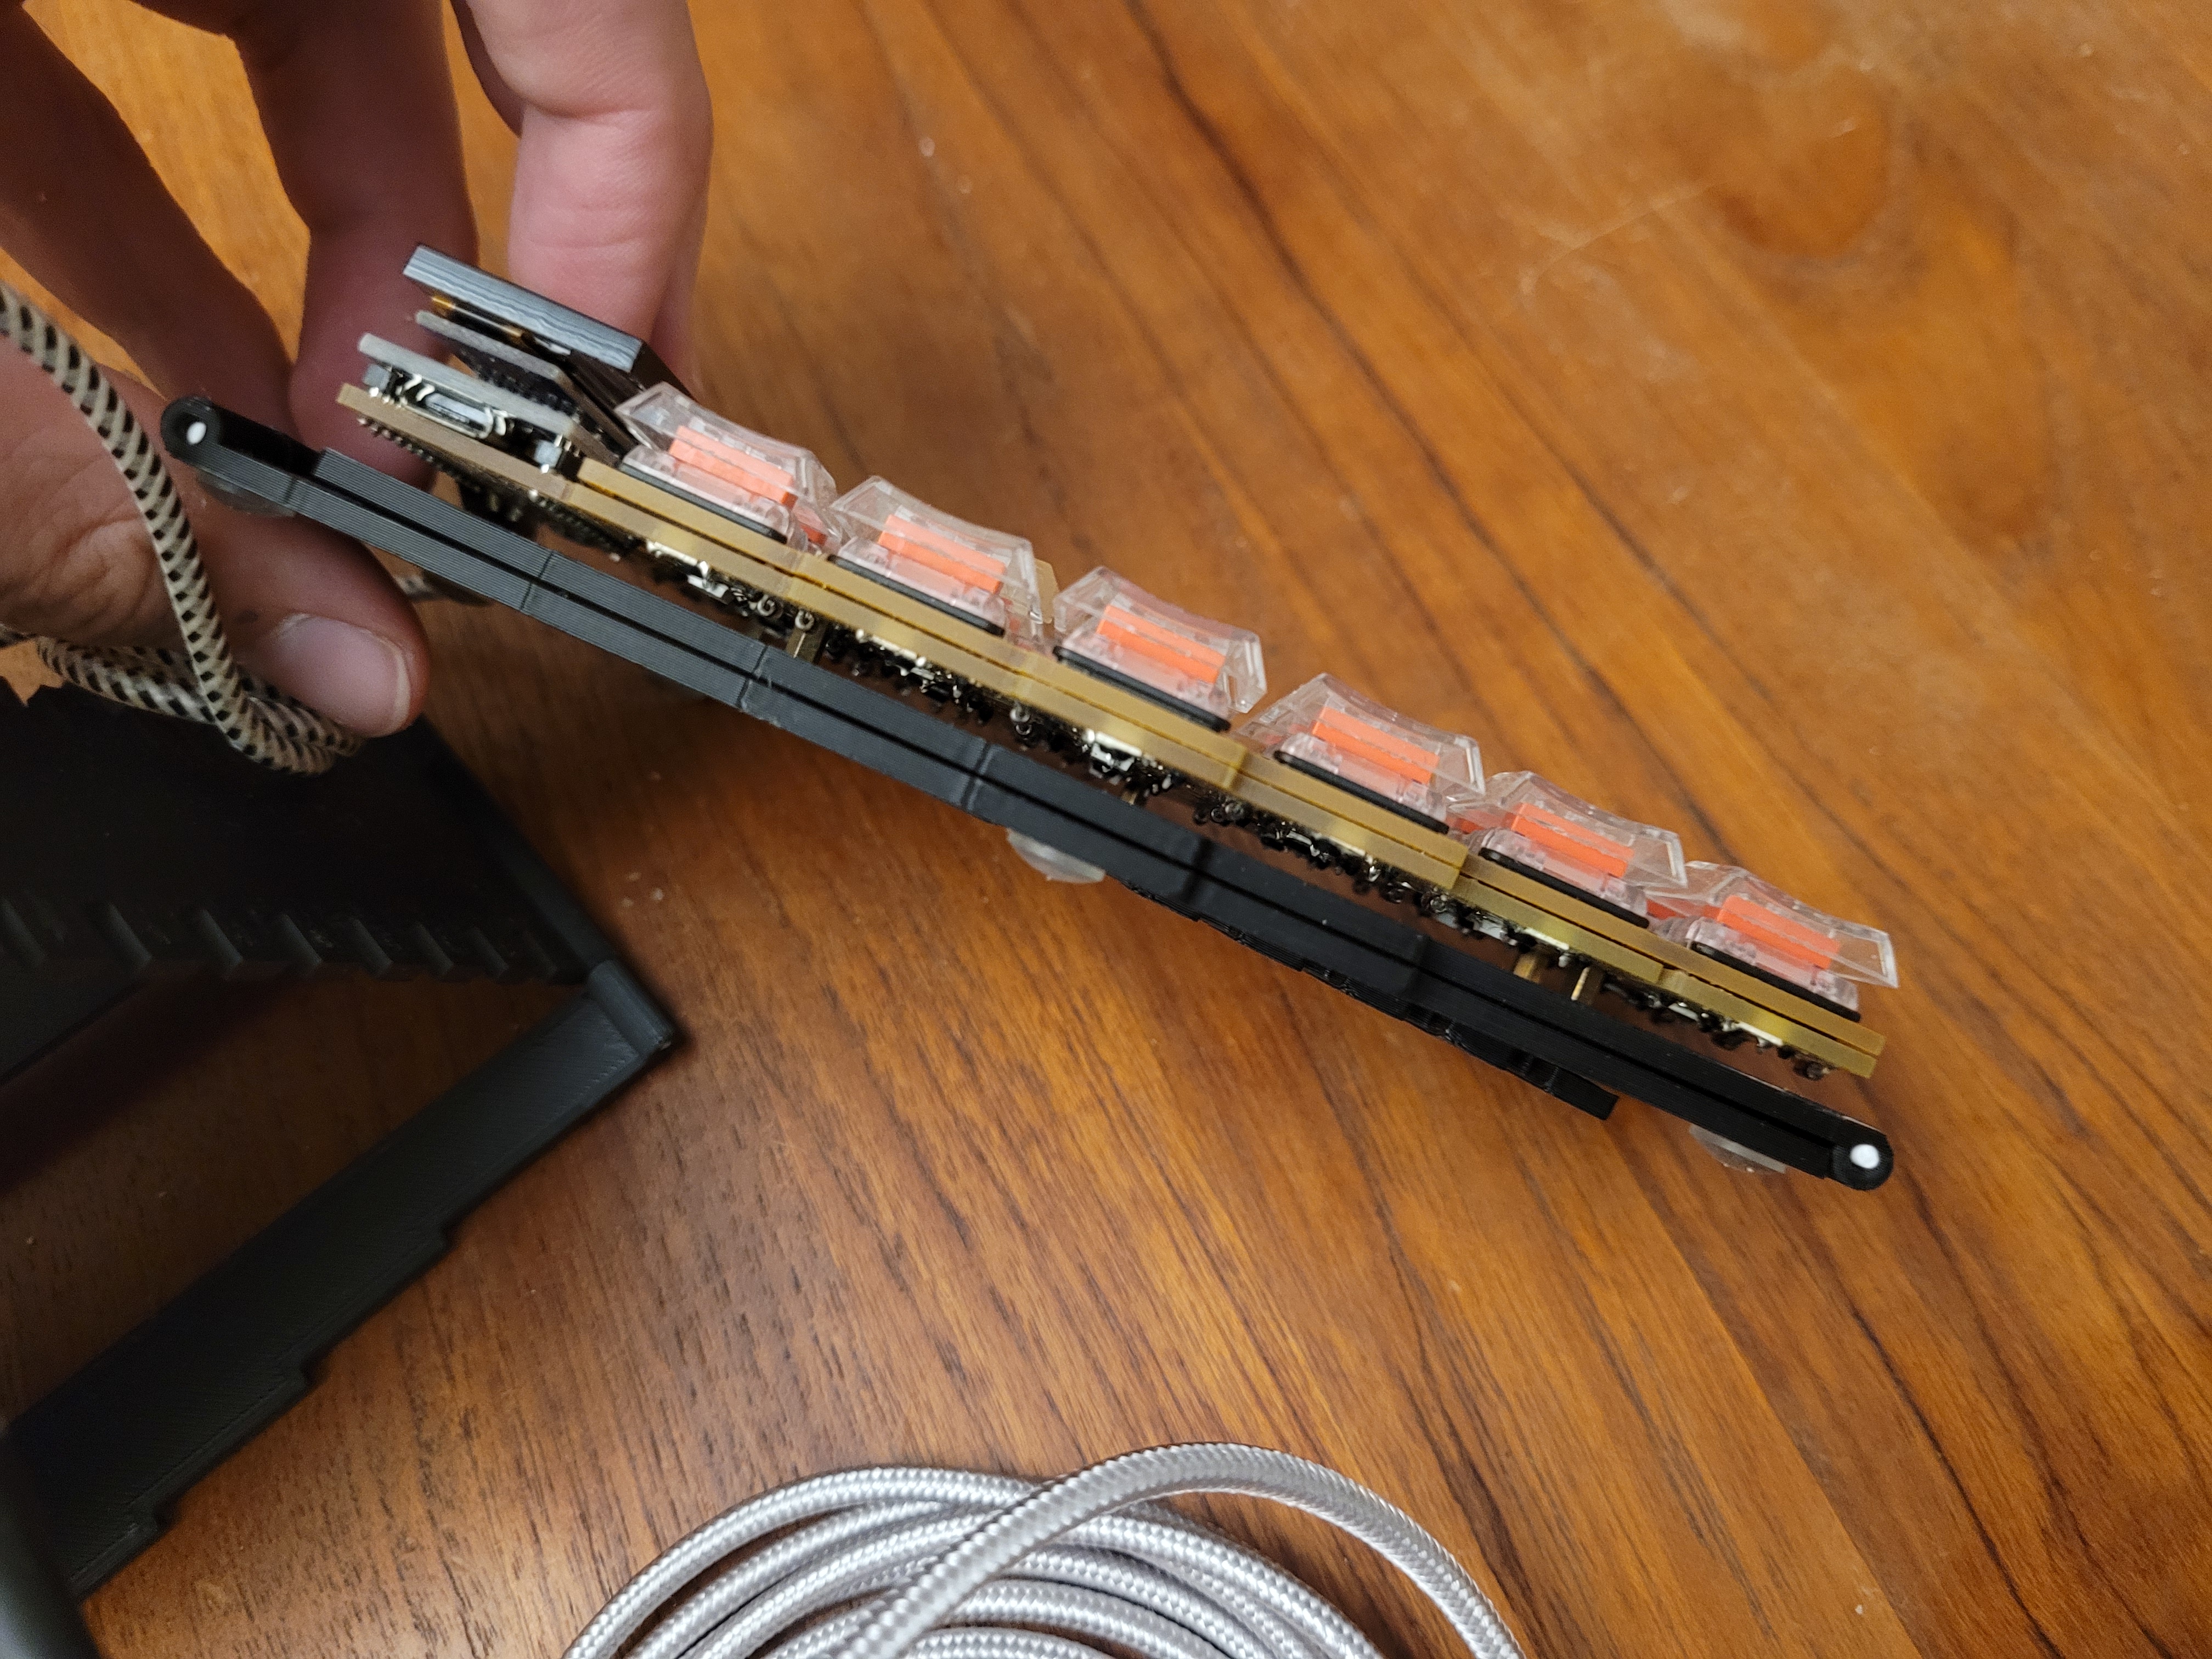
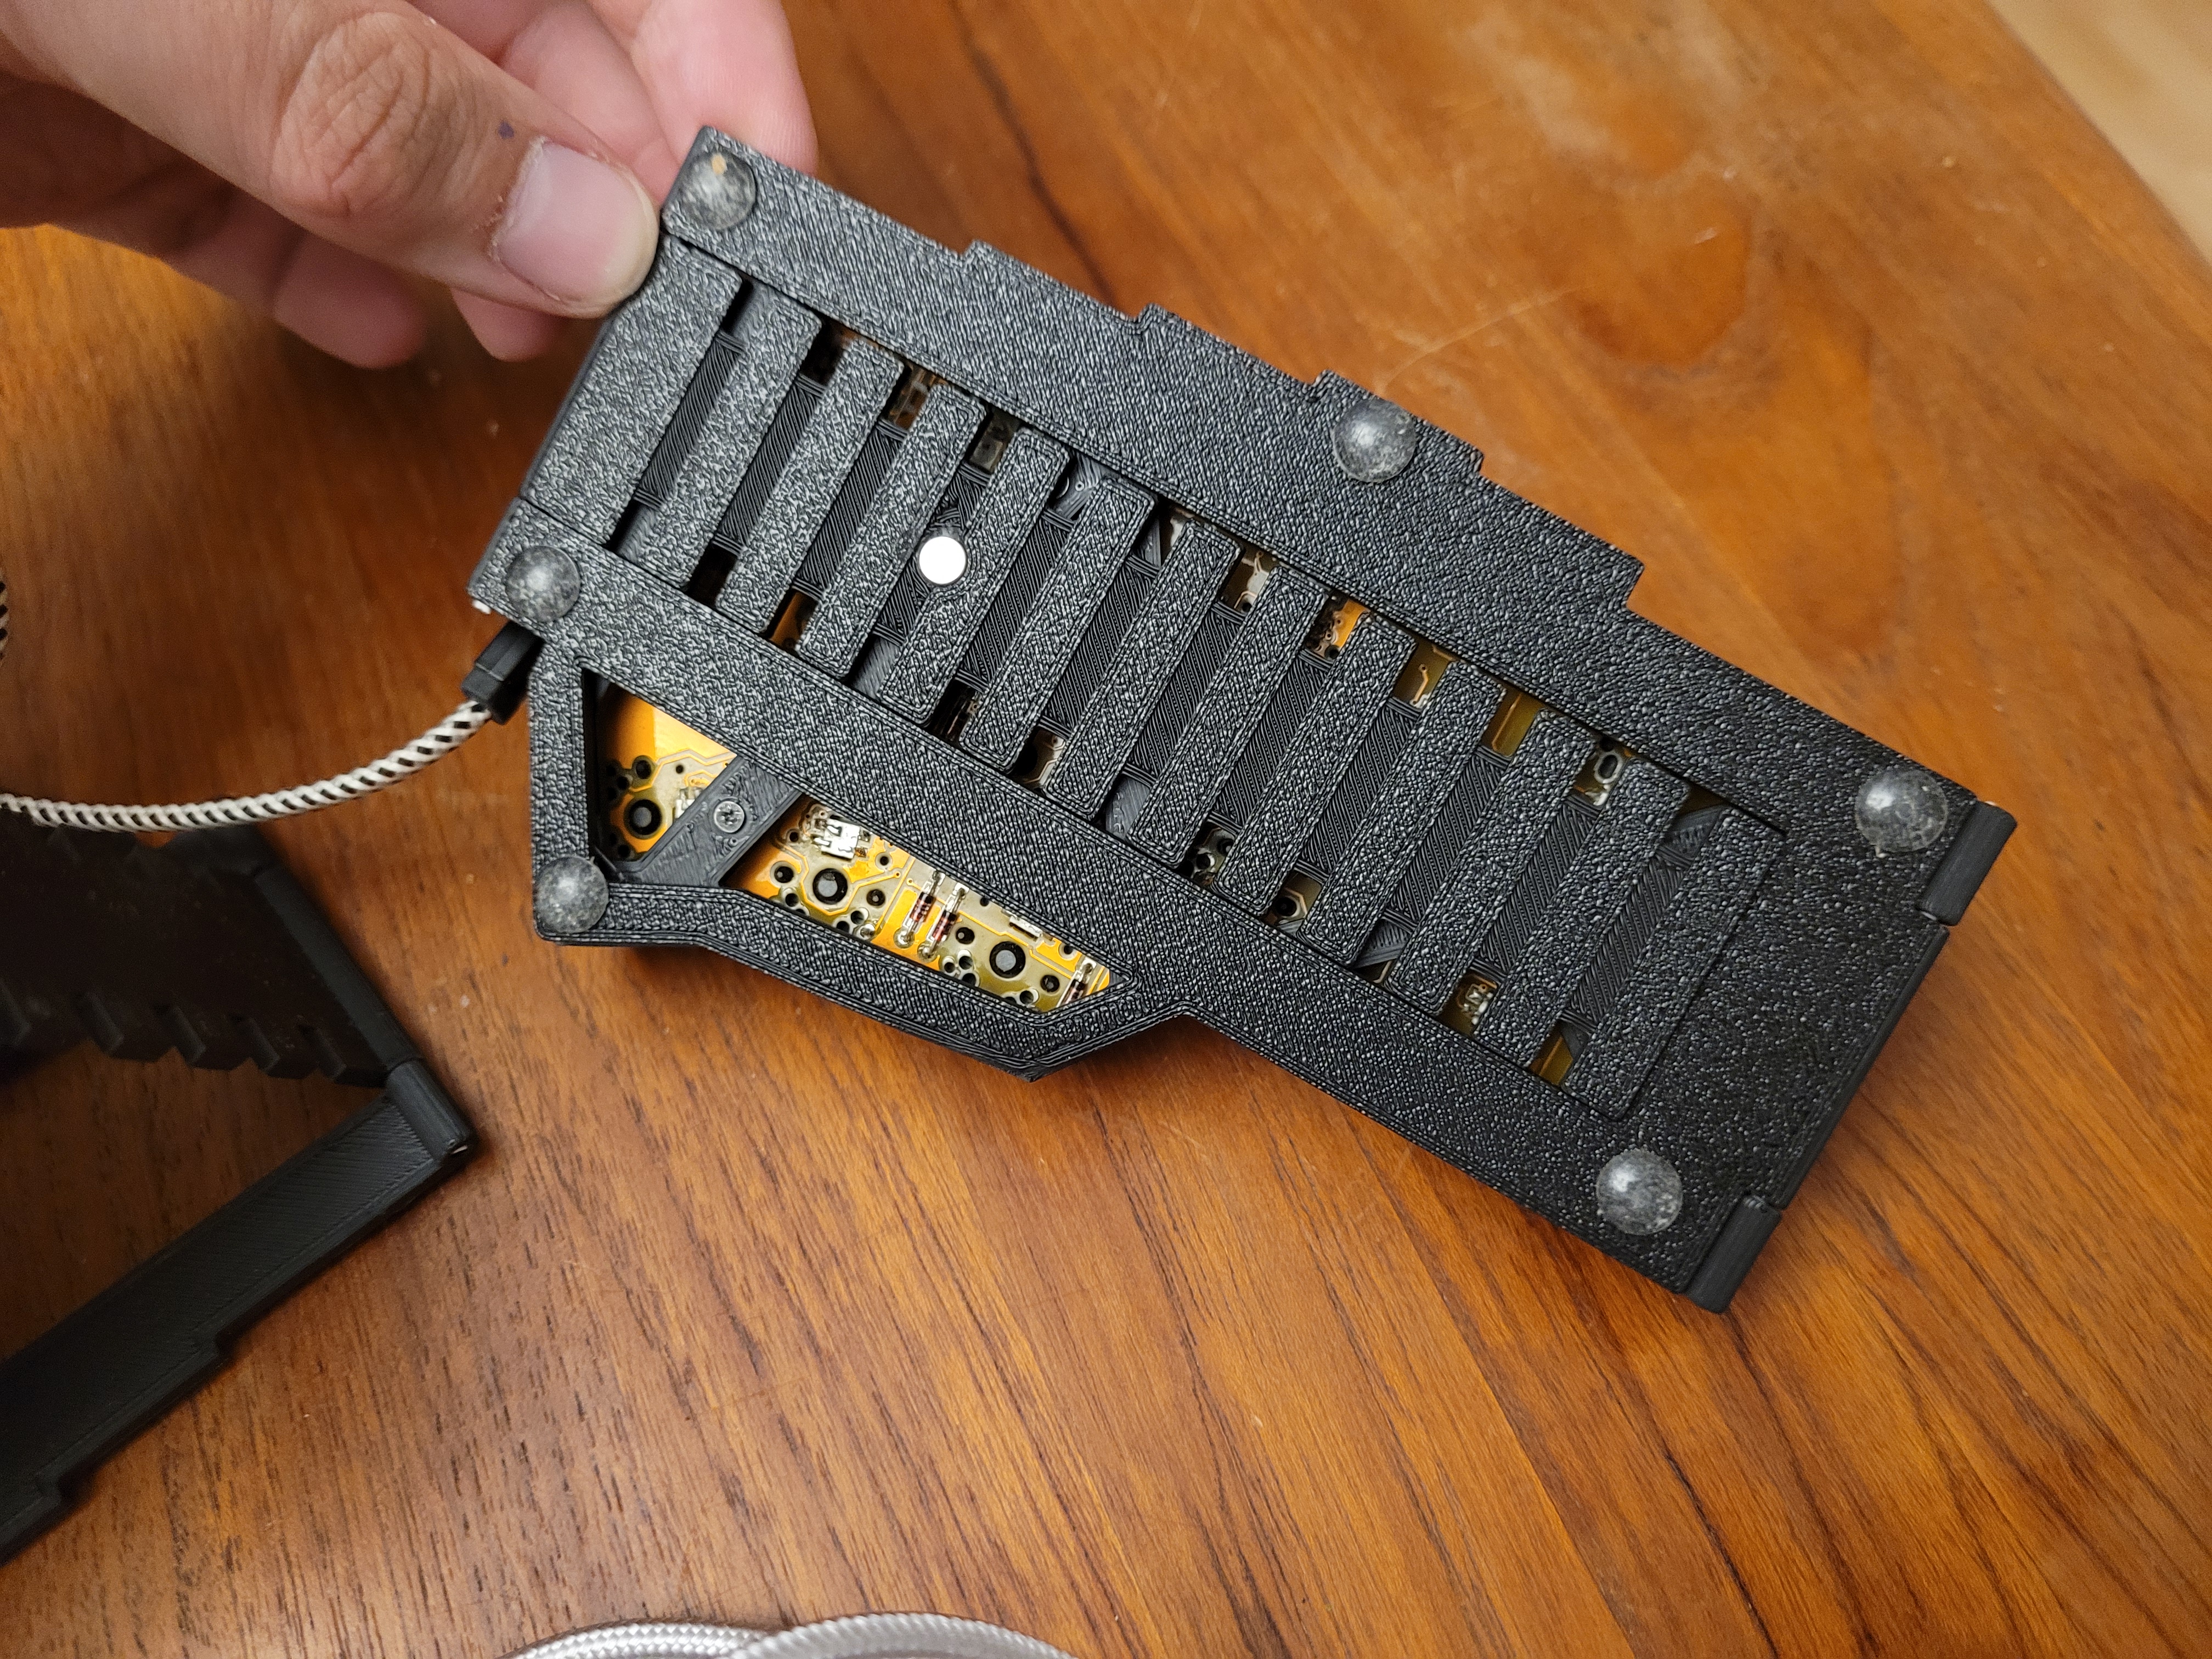
I also designed an ultra-low, adjustable tenting stand for it, but that never got as much use.
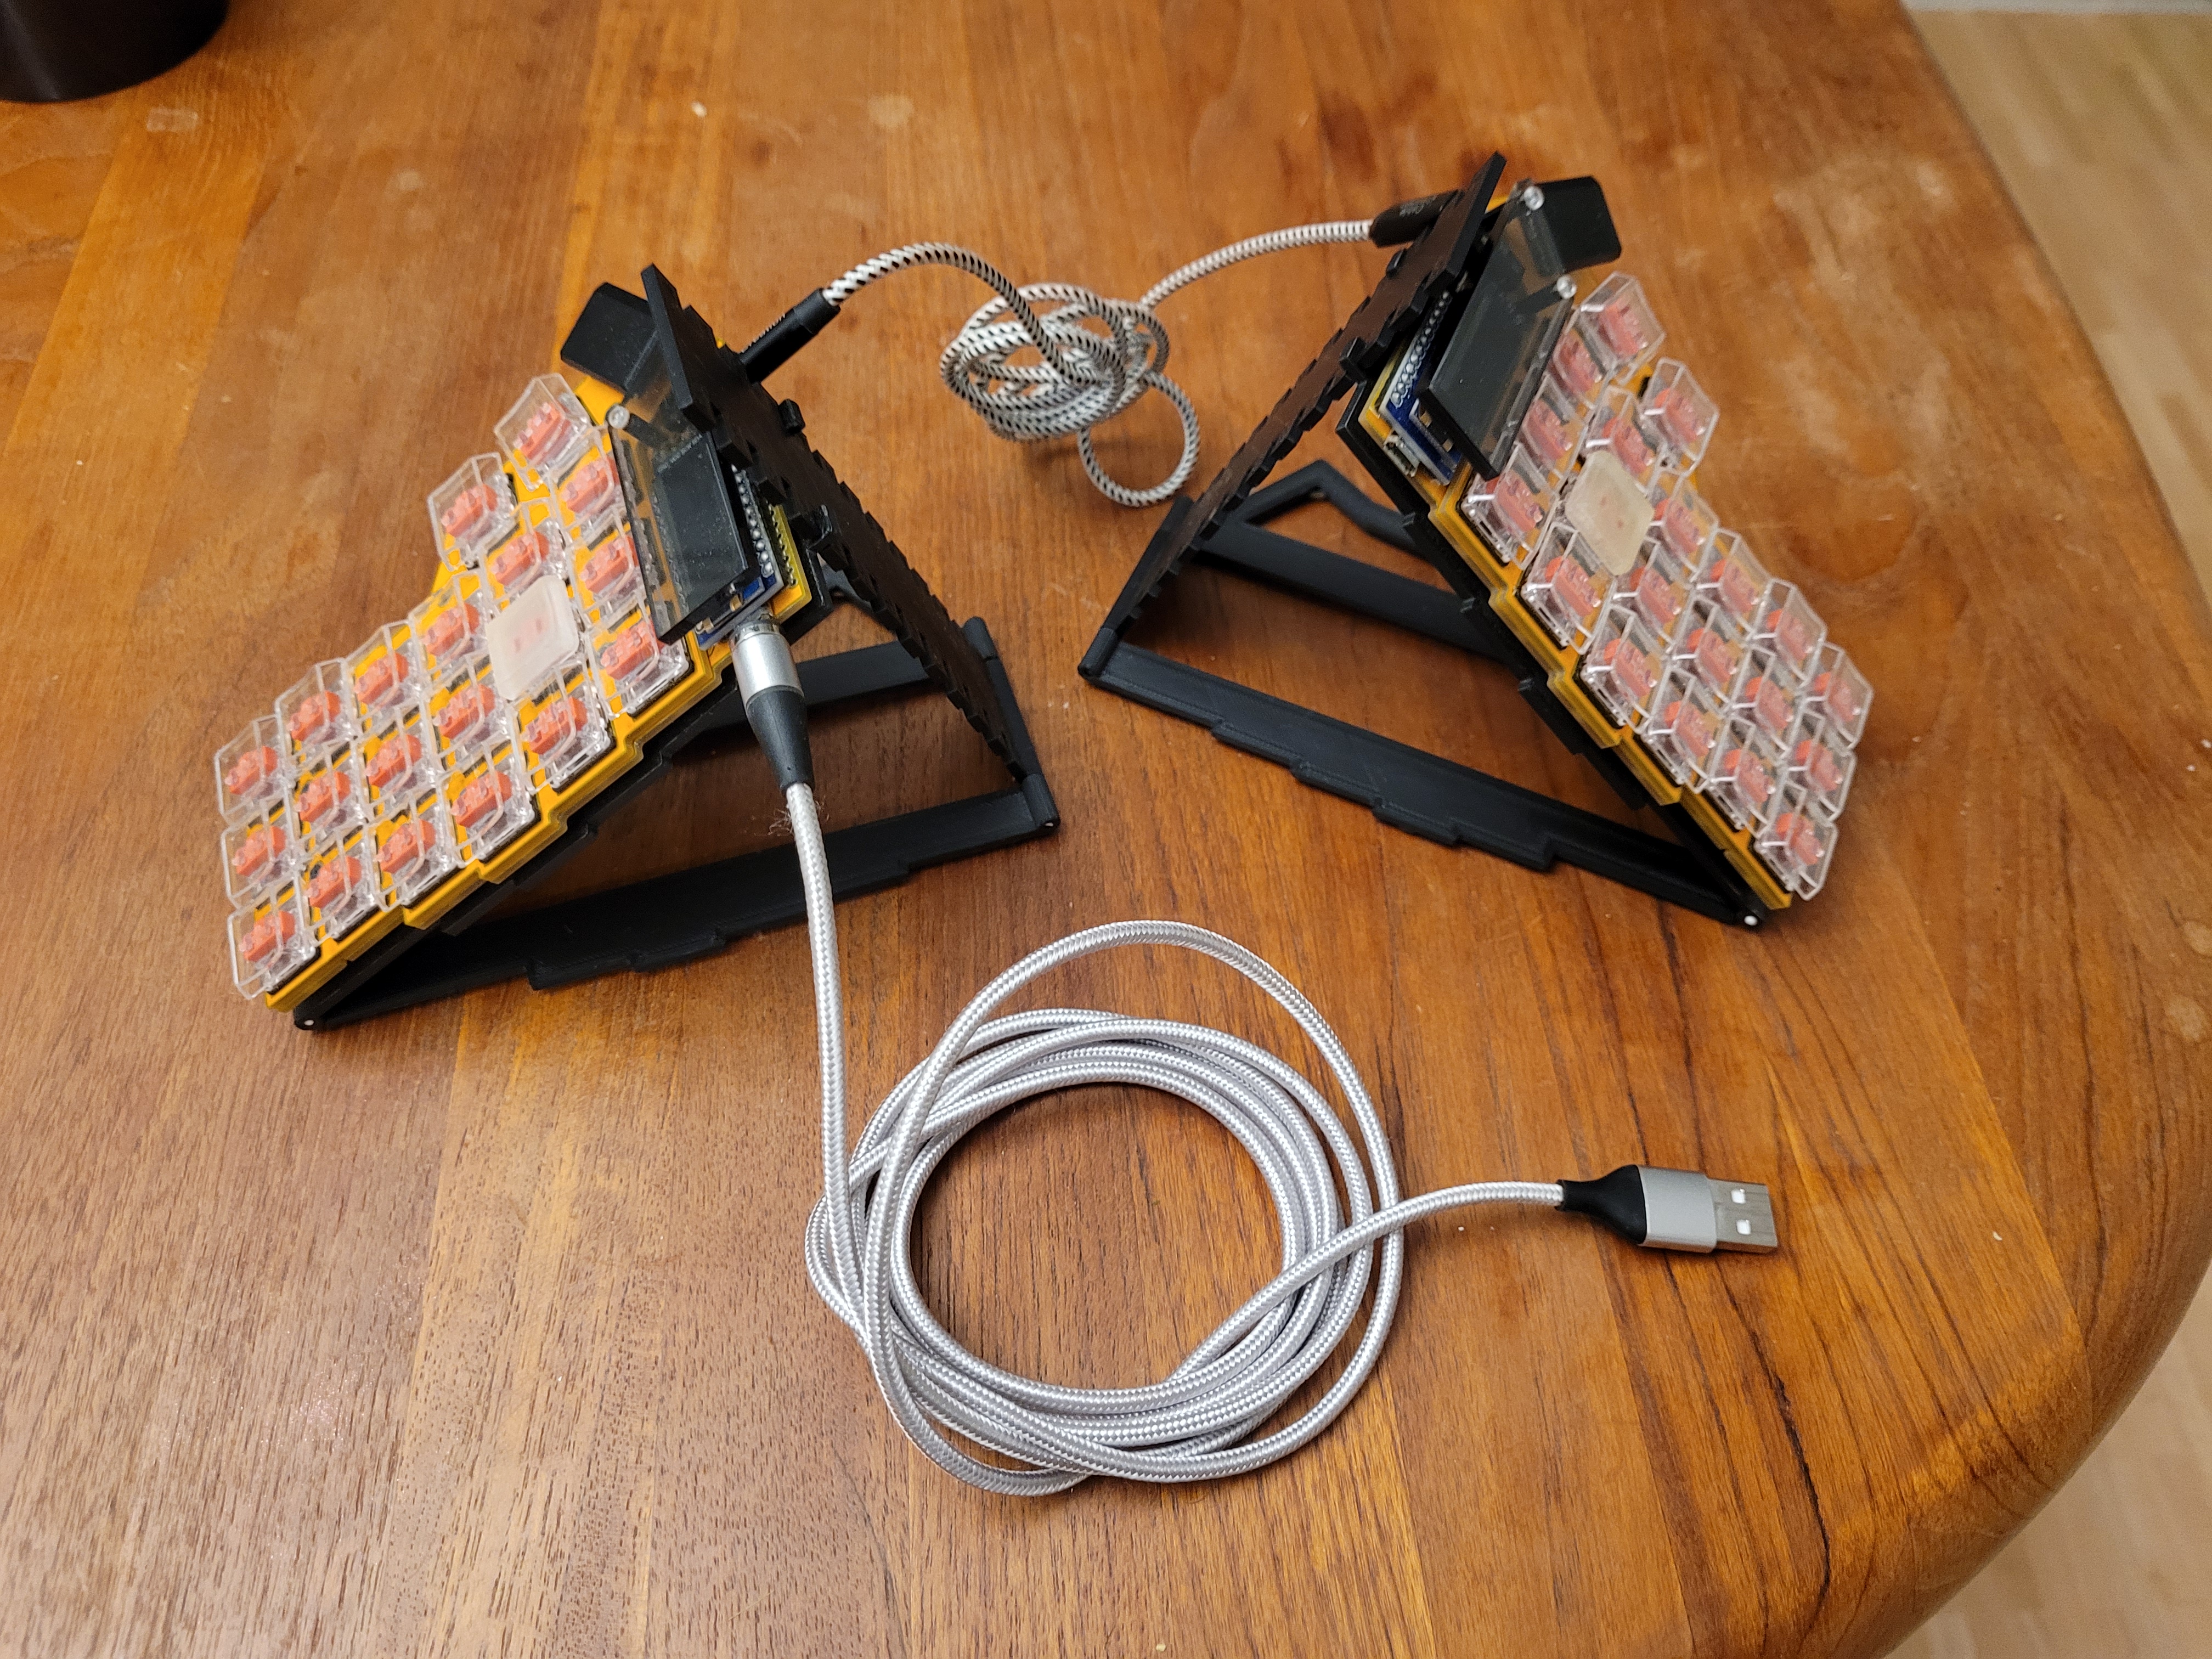
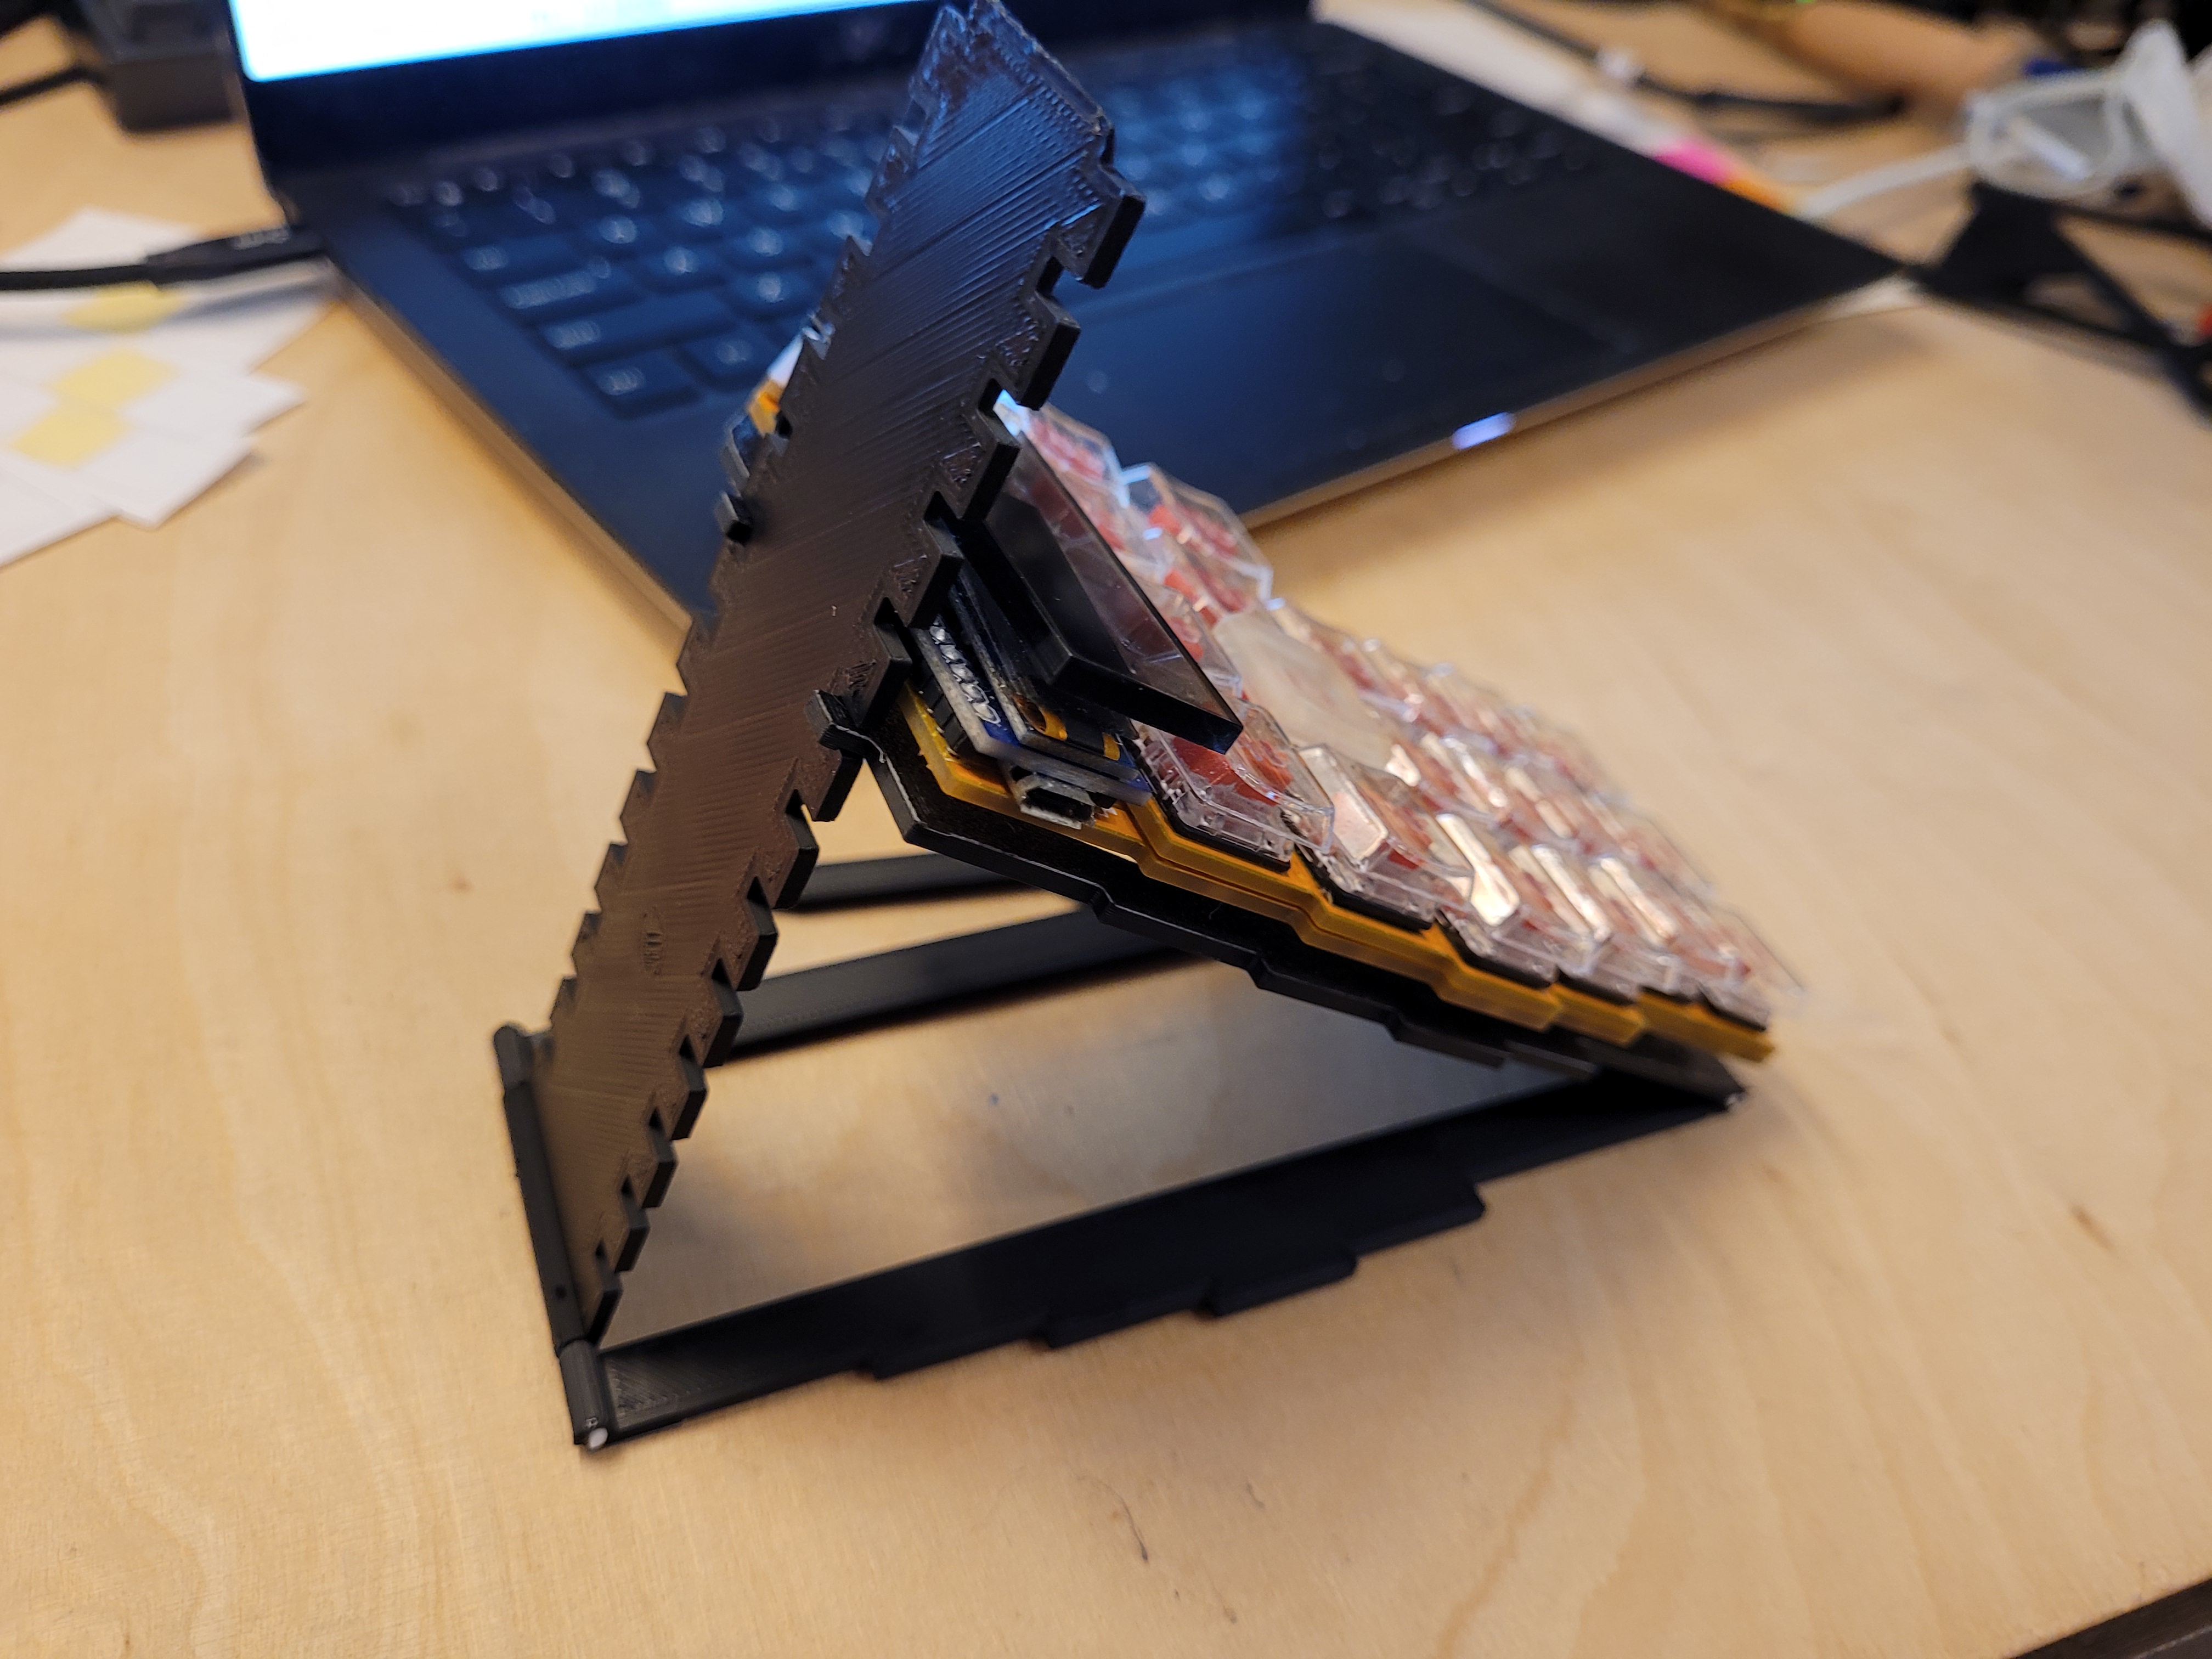
However, not all was well:
Overall, the CRKBD is a great keyboard and hits a sweet spot in many things. Its place as a prominent split keyboard is well-earned and justified in my opinion. For now, my corne gets passed around to interested friends, to show off the hobby and get more people interested in building their own keyboards. But I knew that I wanted something different at some point, something even more personal, and something to try my kicad skills on. But that is a story for another post.